
[su_row]
[su_column size=”2/3″]
Here we go again. Both players decided they needed at least one more turn with the lists they constructed last week before passing final judgement on who reigns supreme. Sometimes a particular map or mission can favor specific unit capabilities or strategies, and sometimes it takes some practice to really settle in with a new list. And for sure sequels and rematches are always popular in hopes that they will live up to the original.
Be sure to click the List names to the right to see the specific figures and command cards.
[/su_column]
[su_column size=”1/3″]

Mason
Furious Furries
Jim Bob
Fett’s Alliance
[/su_column]
[/su_row]
Chewbacca vs Boba Fett – Part II
 The Fett Strikes Back? Jim Bob definitely hopes so, but rest assured Mason and his furry gang will have something to say about that. Since both players are running the exact same lists again, it will be interesting to see what (if any) lessons were learned from the lopsided victory from a week ago.
Massassi Ruins – Lost Knowledge (Mission A)
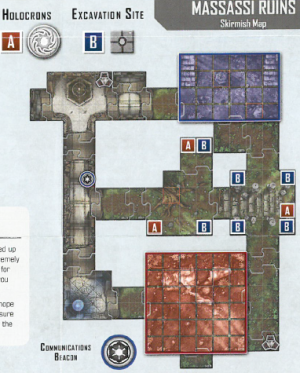
This map provides a great combination of objectives and combat zones for point scoring opportunities. The objective goals require players to recover lost Jedi holocrons and transport them to a communication beacon where their information can be transmitted. Each transmission will award you 10 VPs, but there are only 30 possible points so the rest of the victory must come from good old fashioned combat.
To make a long story short, those furiously furry Wookies proved too much to handle for Fett and his Imperial lackeys once again, but it should be noted that the rematch was much more competitive than the first meeting between these two lists.
 The pivotal moment came at the beginning of the second round when Mason played the Shadow Ops command card, completly disrupting Jim Bob’s strategy. Fett ended up getting defeated after much of his side’s planned offensive moves were negated by the timely command card Mason drew at the beginning of the round. At that point Jim Bob went into scramble mode. He managed to scrap for 10 points with a successful holocron transmission but in the end, all of his units were defeated (curse your furiousness, you Furries!!!).
This match did highlight some of the strengths and weaknesses inherent in these two lists and some of the lessons learned by playing them again. In particular, Mason made great use of Chewie’s Protector capability which made his units extra tough to damage. Keeping his units bunched together took full advantage of that bonus especially since Jim Bob’s list lacked any units with Blast attacks. Also highlighted was the fact that Jim Bob’s list lacked any real synergy between the units which unfortunately is typical of Mercenary (aka Scum) lists right now. Hopefully as more Scum expansion packs are released it will make that faction more competitive – only time will tell.
FINAL SCORE
Mason 39 – Jim Bob 10
(army defeated)
 The Imperial Labor Camp map was selected at random from a list of maps neither player had played previously to provide an even playing field. The mission’s objectives were simple, infiltrate your opponent’s deployment zone with at least one figure to receive VPs at the end of the round. Of course, points are awarded on the spot for combat victories, and it’s obvious from first glance that there will definitely be some violence going down on this map.
 It’s as if one of the most quintessential Star Wars scenes is unfolding right before your eyes, but this time the fate of galaxy rests on your shoulders (hint: use the force). While there are endless options for putting together your own IA Skirmish Army, the suggested lists in the Skirmish Guide are the perfect starter for a learning the ins and outs of the game. Playing arguably the two best characters in the game (Luke seems to be the popular choice, but there is no denying Vader can wreak havoc on the ill prepared) is a great way to start.
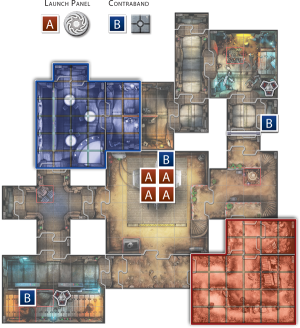 As it turns out, the outskirts of Mos Eisley are an even wretcheder hive of scum and villany! (Ben… why didn’t you tell me?) Mason chose the Blue deployment zone and Jim Bob lined up the Imperials in the Red zone. The primary objective was to control the red launch panels (marked with the “A”) on the ship in the center of the map. Doing so would give you 2 victory points (VP) each at the end of the round or 5 VPs if you spent an action to flip them over. Of course, you can also score lots of points just by blasting the other team (and come on, which one of those is more fun?) First one to 40 wins.
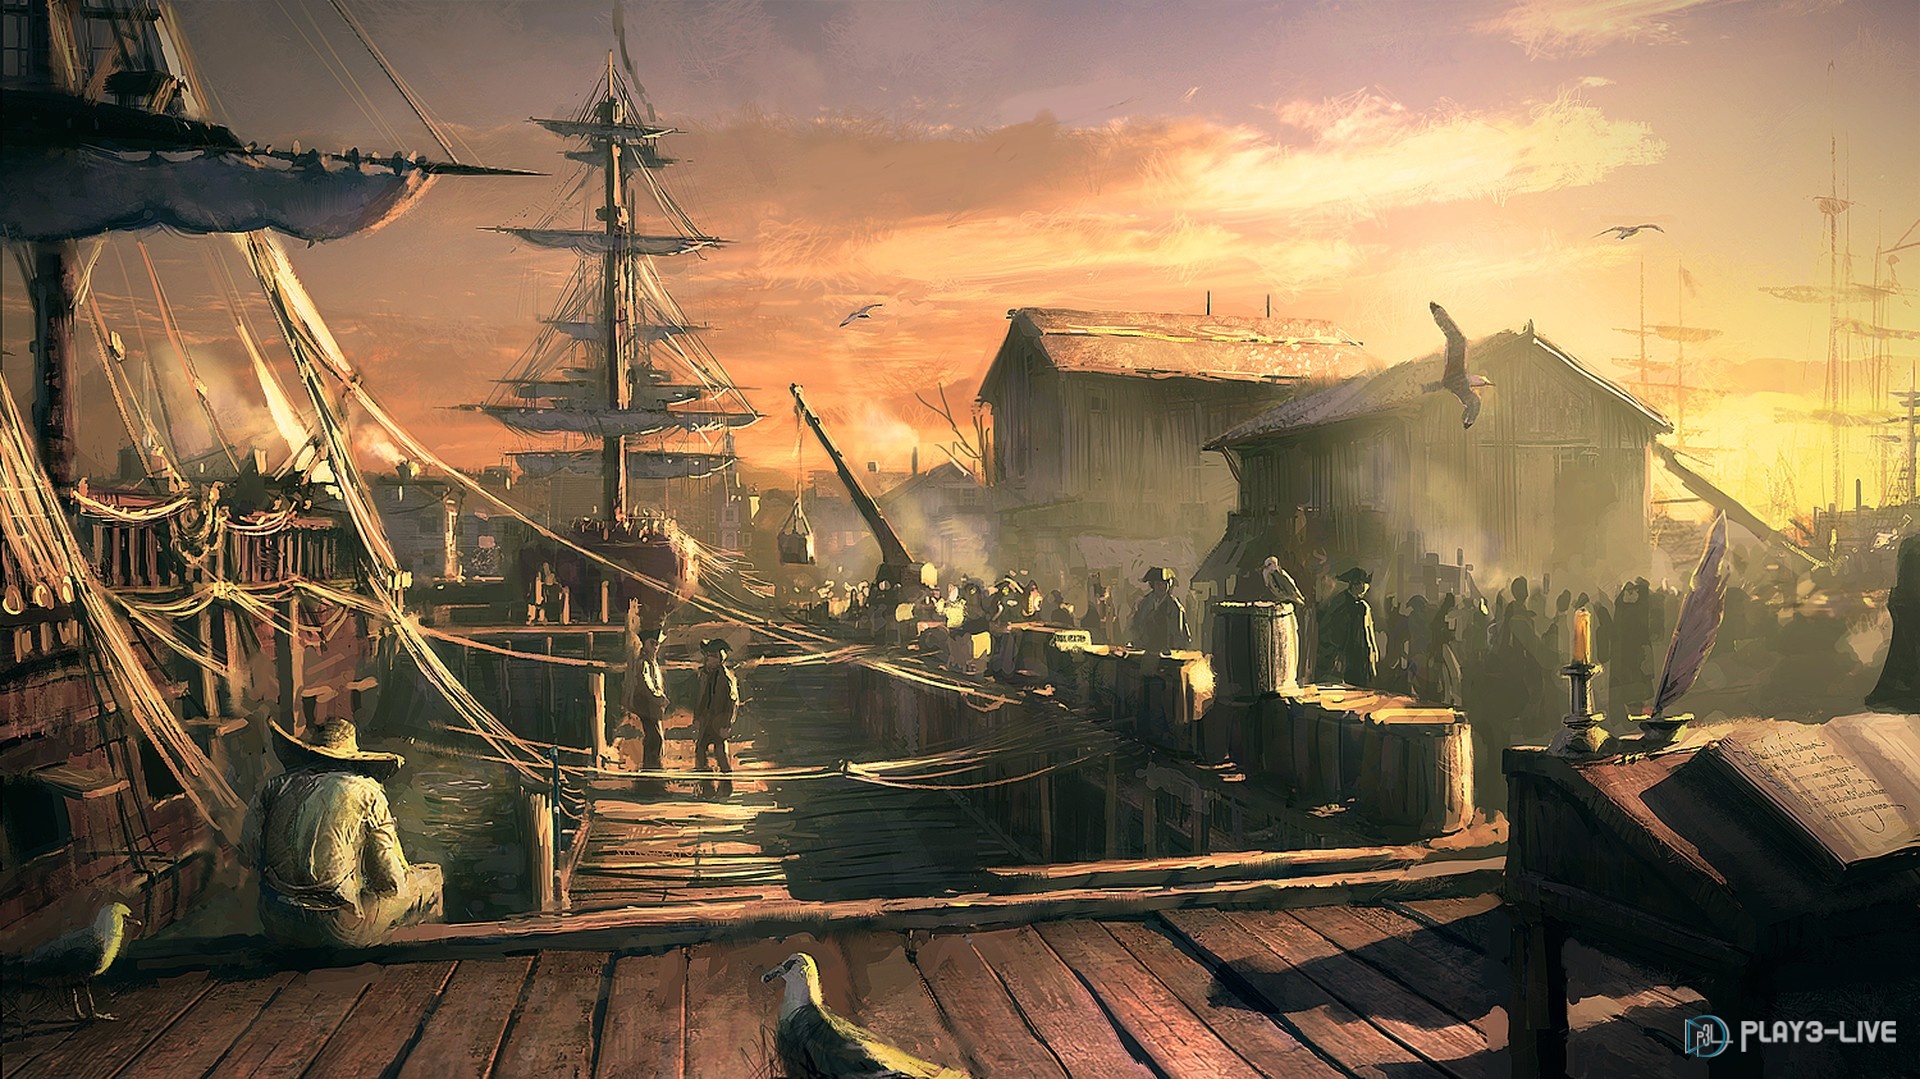


Recent Comments