[su_row]
[su_column size=”2/3″]
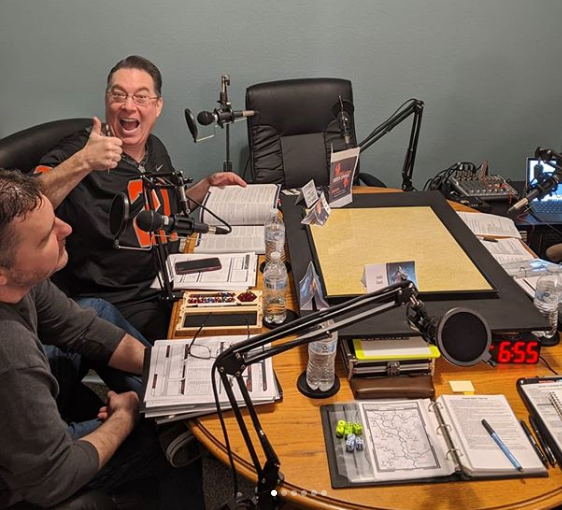
This is the first IA lunch league to include 3 players! Jeff was free to join in on the fun this week, so we put together a little scenario to accommodate all of us getting in on the action. Using an idea from the guys over at Imperial Propaganda, each team was built with a 30-point buy for deployment cards and 10 command cards consisting of 1-unique for the leader (3 point card), 2-two point cards, 3-one point cards, 4-zero point cards.
Be sure to click the List names to the right to see the specific figures and command cards.
[/su_column]
[su_column size=”1/3″]

Mason
Chewie’s Strike Team
Jim Bob
Vader’s Strike Team
Jeff
Fett’s Strike Team
[/su_column]
[/su_row]
A Nal Hutta Standoff
 A stalemate where everyone has a weapon pointed at someone else. All the threats are equally balanced to ensure a mutual disadvantage; no one is walking away from this standoff with what they came for. This tricky situation is a favorite of Hutt gangsters looking to setup and get rid of multiple rivals at once. In this case Darth Vader, Boba Fett, and Chewbacca all received an “anonymous” (we know it was you, Jabba) tip that one of the others was spotted alone at the Kuat Space Station. On the surface it looked like a simple snatch and grab job until that first step through the airlock and then the wheels came off.
Kuat Space Station (Expanded) – A Simple Job (custom)
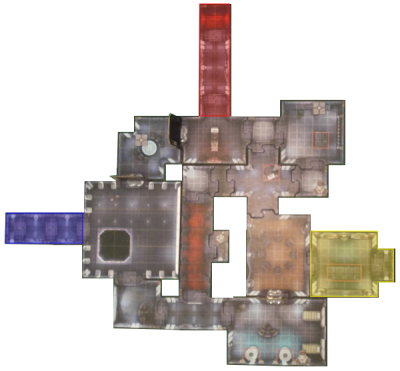 This is a slightly expanded version of the Kuat Space Station map with customized mission objectives to suit a 3-player skirmish scenario. The mission objectives focus on the leader of each strike team. Points are scored normally through combat but when the strike team leader kills a group, the player is awarded double the Victory Points. At the end of the round if the strike team leader is still alive, an additional 2 Victory Points are awarded! As usual, first player to 40 points wins.
The action started with Jeff deploying from the red zone and heading toward both of the crates in that area. Mason deployed from the yellow zone and quickly moved to control the southernmost terminal. Jim Bob found his team facing action on two fronts as he deployed from the blue zone and looked to both acquire a crate and control a terminal. As intentions began to unfold in the second round, Jim Bob decided against splitting his team in two and pulled his units back from the terminals leaving them open for Mason. Using Fett’s superior speed, Jeff made a run for the crate on the far right which set up a clash between Vader and Fett’s support units over the crate between them. Vader began plowing through them and putting points on the board.
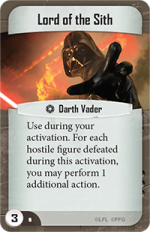 As the lead began to build, Fett and Chewie got into gear with one common goal between them – stop Vader or this show is going to be over with real quick. They both put forth a good effort, getting some damage in but more importantly putting stun and weakened conditions on him. It looked like the tide might be turning at that point, but Jim Bob was able to rally with the powerful Rally command card to shake off the harmful conditions and continue the Brutality. That left Vader free to take down Fett and with double the points, easily secured the victory.
The moral of this story is: Sith Lords are mean.
FINAL SCORE
Jim Bob 52 – Mason 9 – Jeff 6
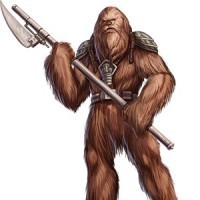
 The Fett Strikes Back? Jim Bob definitely hopes so, but rest assured Mason and his furry gang will have something to say about that. Since both players are running the exact same lists again, it will be interesting to see what (if any) lessons were learned from the lopsided victory from a week ago.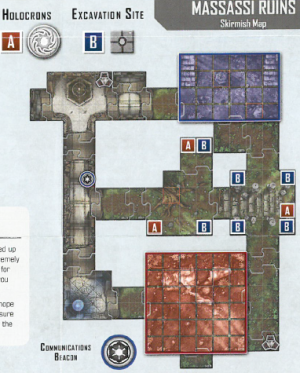
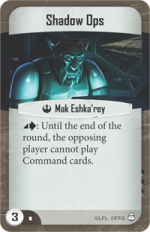 The pivotal moment came at the beginning of the second round when Mason played the Shadow Ops command card, completly disrupting Jim Bob’s strategy. Fett ended up getting defeated after much of his side’s planned offensive moves were negated by the timely command card Mason drew at the beginning of the round. At that point Jim Bob went into scramble mode. He managed to scrap for 10 points with a successful holocron transmission but in the end, all of his units were defeated (curse your furiousness, you Furries!!!).
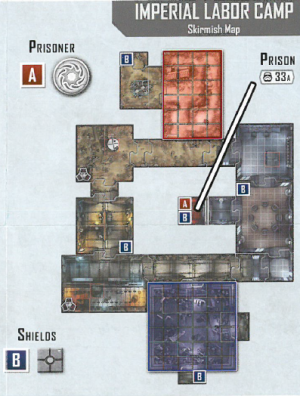 The Imperial Labor Camp map was selected at random from a list of maps neither player had played previously to provide an even playing field. The mission’s objectives were simple, infiltrate your opponent’s deployment zone with at least one figure to receive VPs at the end of the round. Of course, points are awarded on the spot for combat victories, and it’s obvious from first glance that there will definitely be some violence going down on this map.
 It’s as if one of the most quintessential Star Wars scenes is unfolding right before your eyes, but this time the fate of galaxy rests on your shoulders (hint: use the force). While there are endless options for putting together your own IA Skirmish Army, the suggested lists in the Skirmish Guide are the perfect starter for a learning the ins and outs of the game. Playing arguably the two best characters in the game (Luke seems to be the popular choice, but there is no denying Vader can wreak havoc on the ill prepared) is a great way to start.
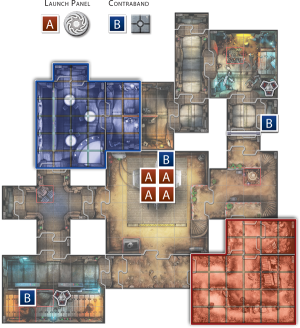 As it turns out, the outskirts of Mos Eisley are an even wretcheder hive of scum and villany! (Ben… why didn’t you tell me?) Mason chose the Blue deployment zone and Jim Bob lined up the Imperials in the Red zone. The primary objective was to control the red launch panels (marked with the “A”) on the ship in the center of the map. Doing so would give you 2 victory points (VP) each at the end of the round or 5 VPs if you spent an action to flip them over. Of course, you can also score lots of points just by blasting the other team (and come on, which one of those is more fun?) First one to 40 wins.
Recent Comments