Folks have been asking me about the battlemat I’m using for my Traveller games, so I thought I’d describe how I created it. Not terribly hard to do so give it a try!
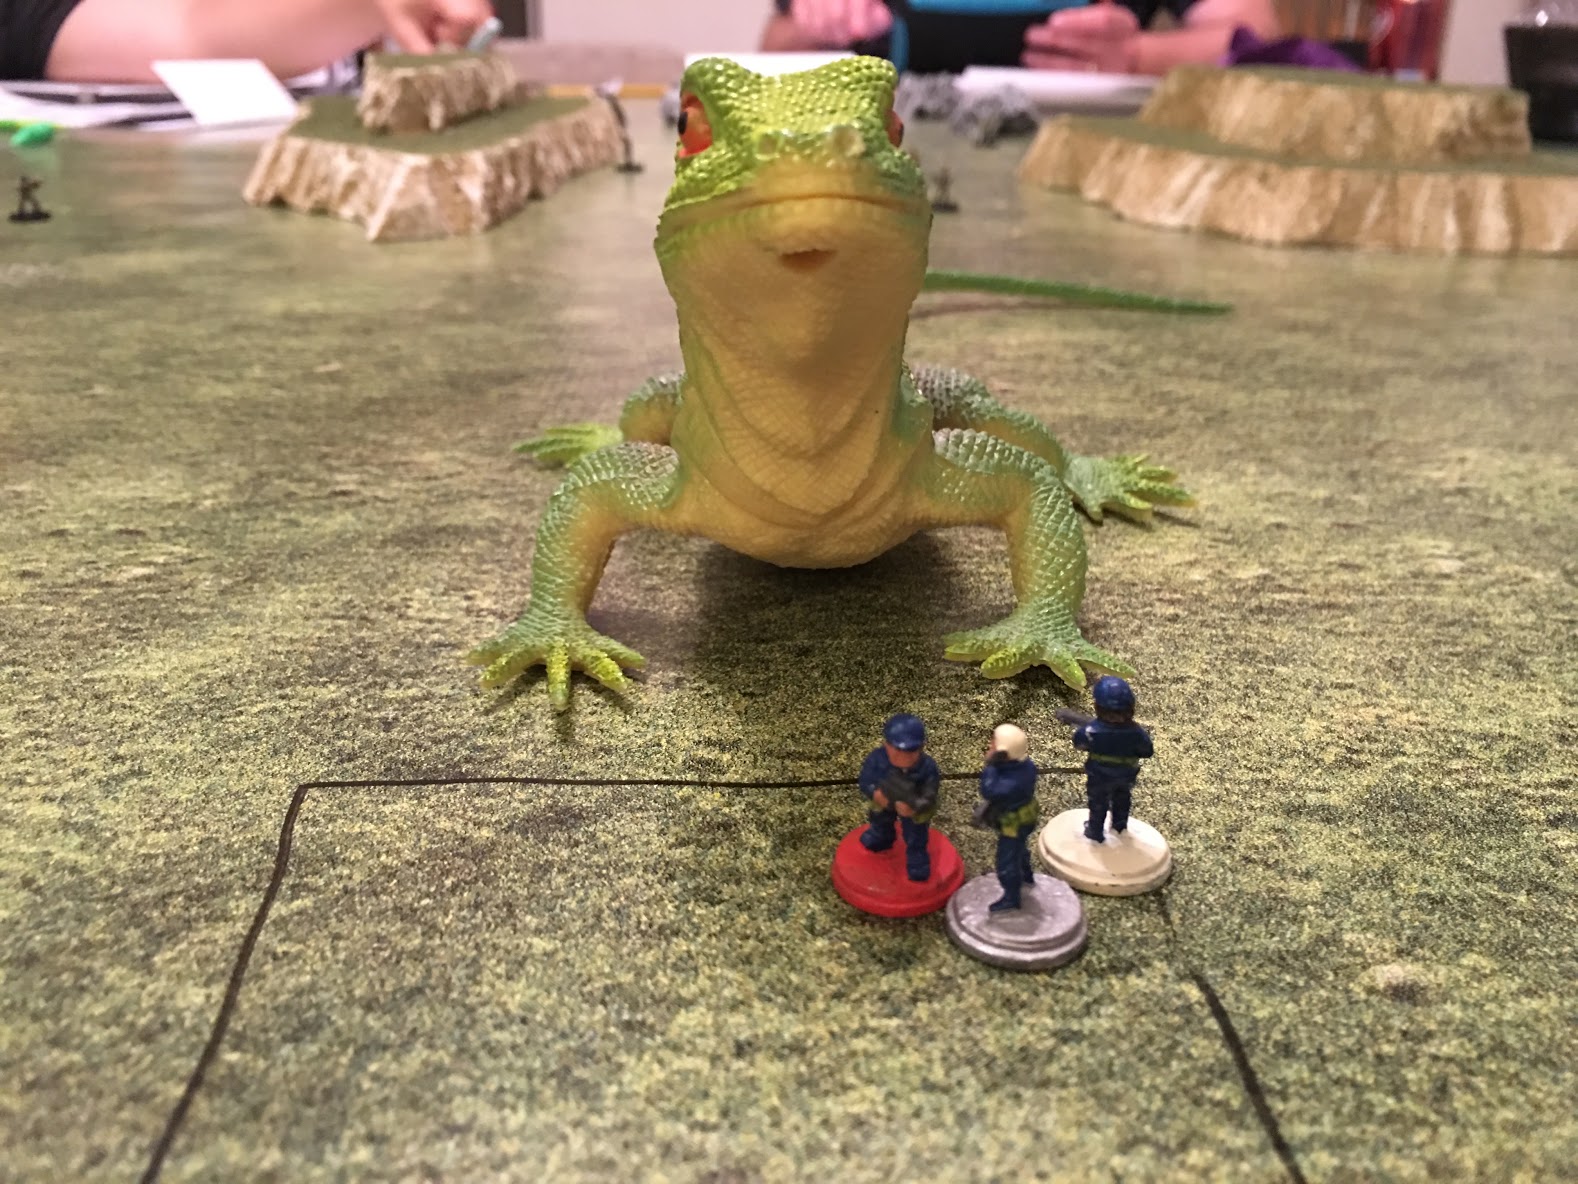
15mm Miniatures on my Vinyl Battlemat.
I like to do DIY (do-it-yourself) terrain and RPG tools. I’ve got a couple of campaigns coming up that use 15mm miniatures. The standard 1″ grid maps used in 28mm won’t cut it when using miniatures in this scale. I like 15mm for games where shooting with modern weapons is a focal point and you need to make ranged weapons meaningful (28mm is better for Fantasy / melee combat, whereas 15mm miniatures let’s you take advantage of differences in ranged weapons).
I wanted something portable, something that I could quickly set up, and that didn’t cost a mint. I settled on creating my own vinyl battlemats and printing them from BannersOnTheCheap.com.
Vinyl itself is a great material for battlemats. Its strong, durable, and lets you write on it with dry or wet erase markers.
I bought the map image file from WargamePrint on DriveThruRPG. They have a full selection of battlemat images with all sorts of terrain ranging from deserts to jungles to seas. You can get their test printable files download for free to check out their terrain. It’s amazing!
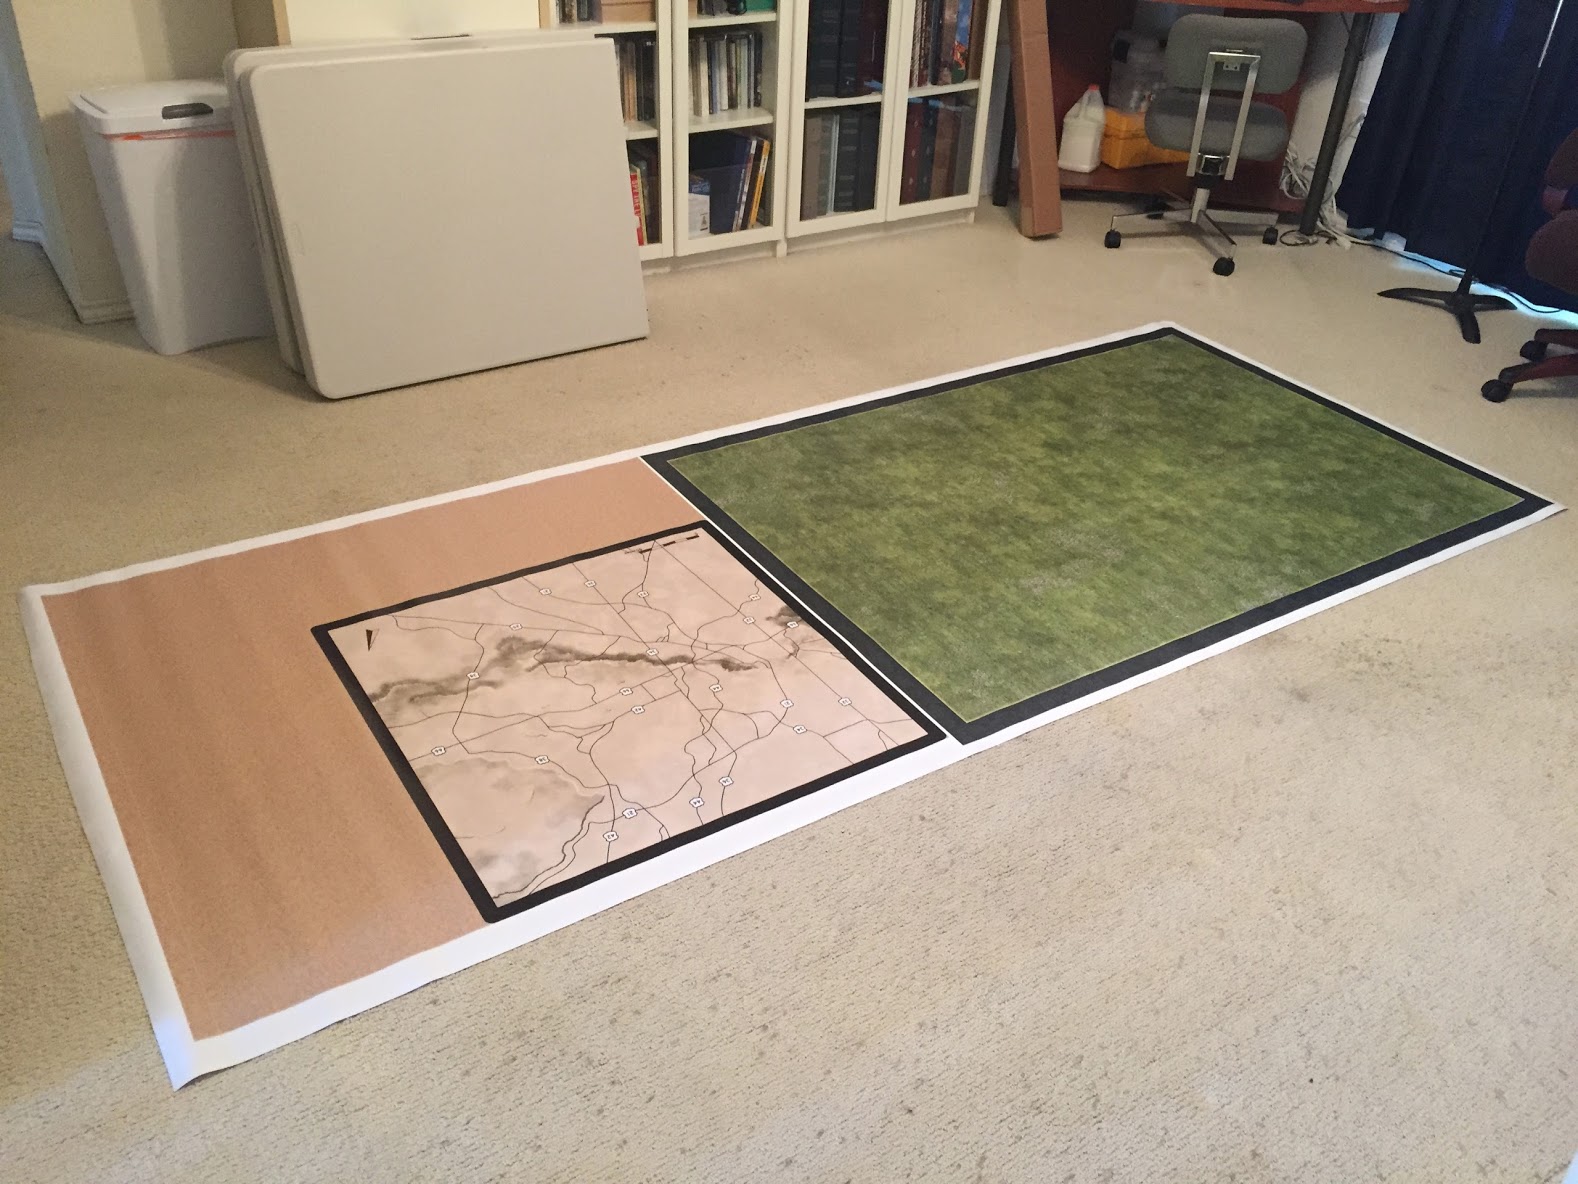
4×10 foot vinyl mat from BannersOnTheCheap.com
I decided to print out a 4’x10′ banner, which lets me get two battlemats for a total of about $40 plus S&H and tax. The tan / sand texture I’ll cut up to be ‘roads’ to lay down on the grassy battlemat.

Vinyl Shears
You’ll want some heavy-duty Vinyl Shears to cut the material.

Trim off the edge
I used Gimp (Photoshop also works) to stitch together the enormous map files into the big 4×10′ image. I sized them so that they didn’t stretch to the border since BannersOnTheCheap doesn’t do a ‘bleed’ that prints to the edge. Use the shears to trim the edges and cut up what you want.

Close-up of printing quality
One thing to be aware of, the printing quality is a bit grainy. It’s always this way (I’ve ordered multiple times from them). Not a big deal though, from a few inches away you won’t be able to tell very much.

Final Product
Here’s the sand vinyl strips cut up and used as a road that I laid down on top of the grassy mat. 15mm miniatures and some DIY terrain on top finish it off!
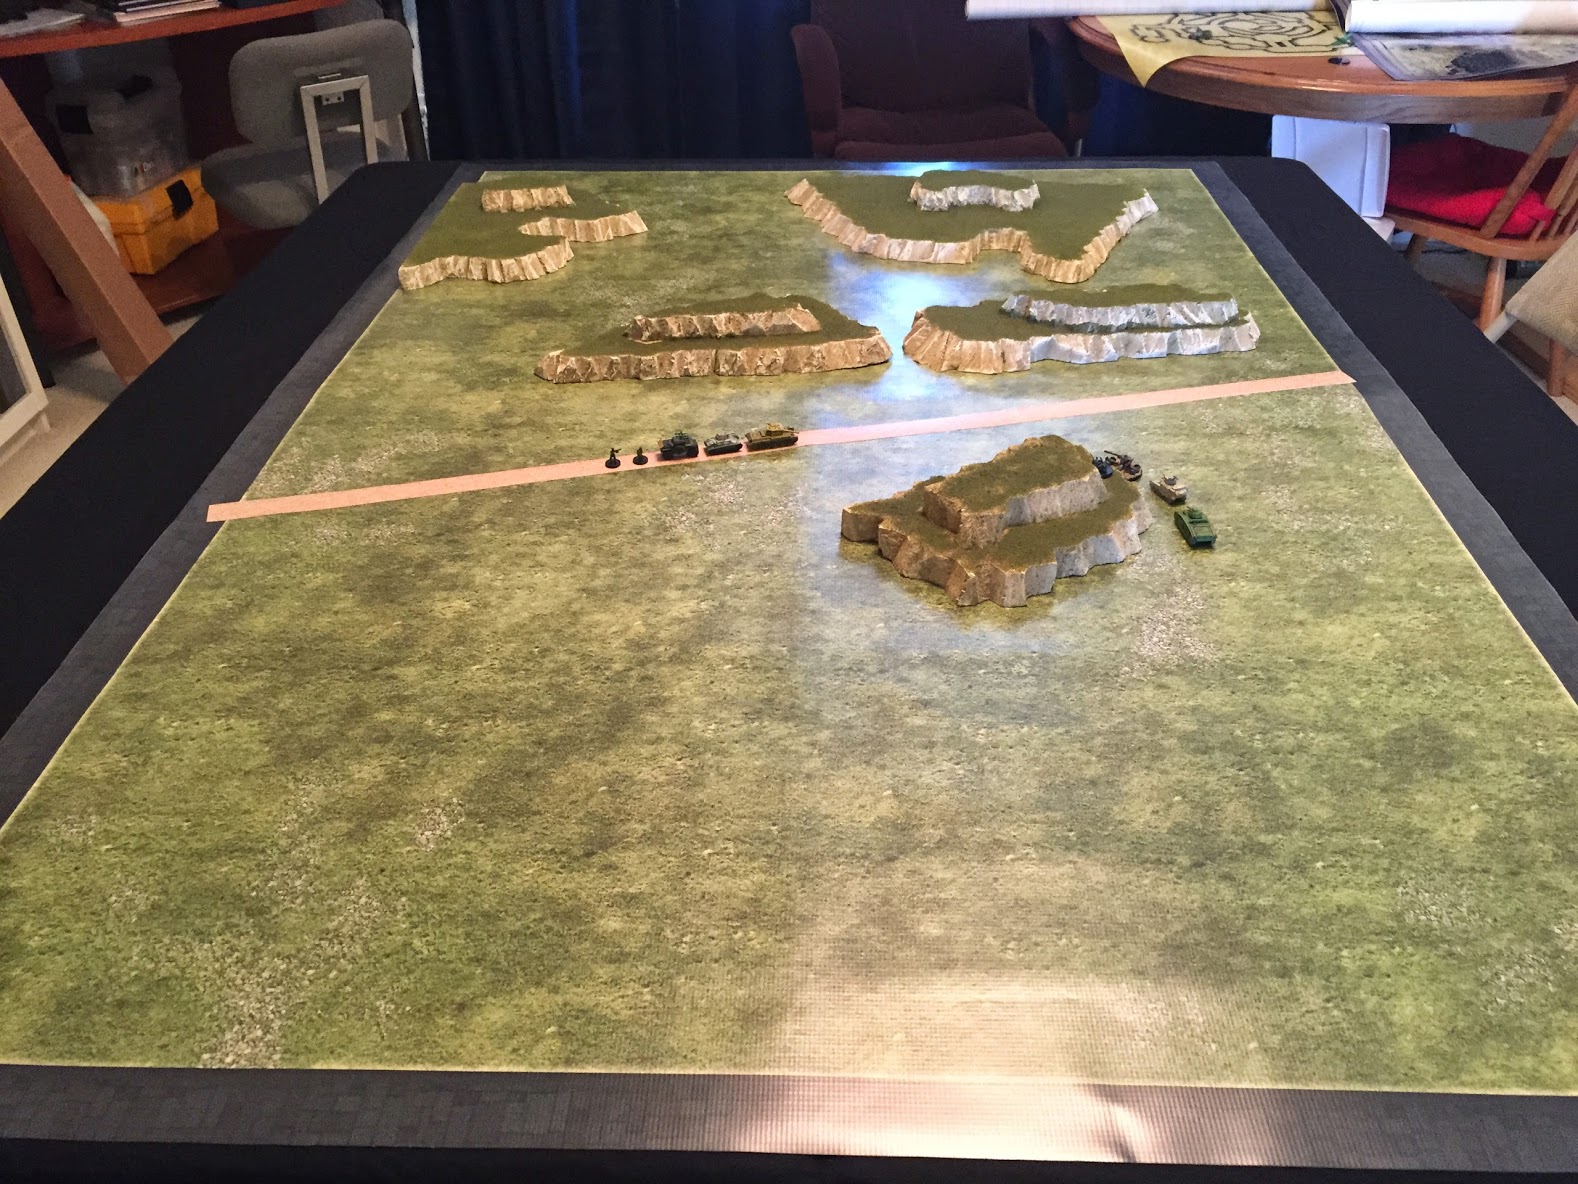
Battlemat on my game table
Here’s the final product on my gametable. Want a gametable like this? See my blog post on creating a DIY stowable game table.

Recent Comments