Thought I’d pull together notes along with photos to show my technique for rebasing MechWarrior minatures (which had a Heroclix style dial-base). I have some custom Mecha wargame rules I’m working on, and the clix dials annoyed me since aesthetics are a big part of wargaming in my opinion.
Step 1: Rebasing and Creating Basing Material
Using pliers and using some safety protection glasses (since there can be sharp pieces of plastic flying) I carefull broke off the MechWarrior minis from their bases. In a couple of case I use a utility knife to pop them off (cutting away from myself towards a towel on the table).
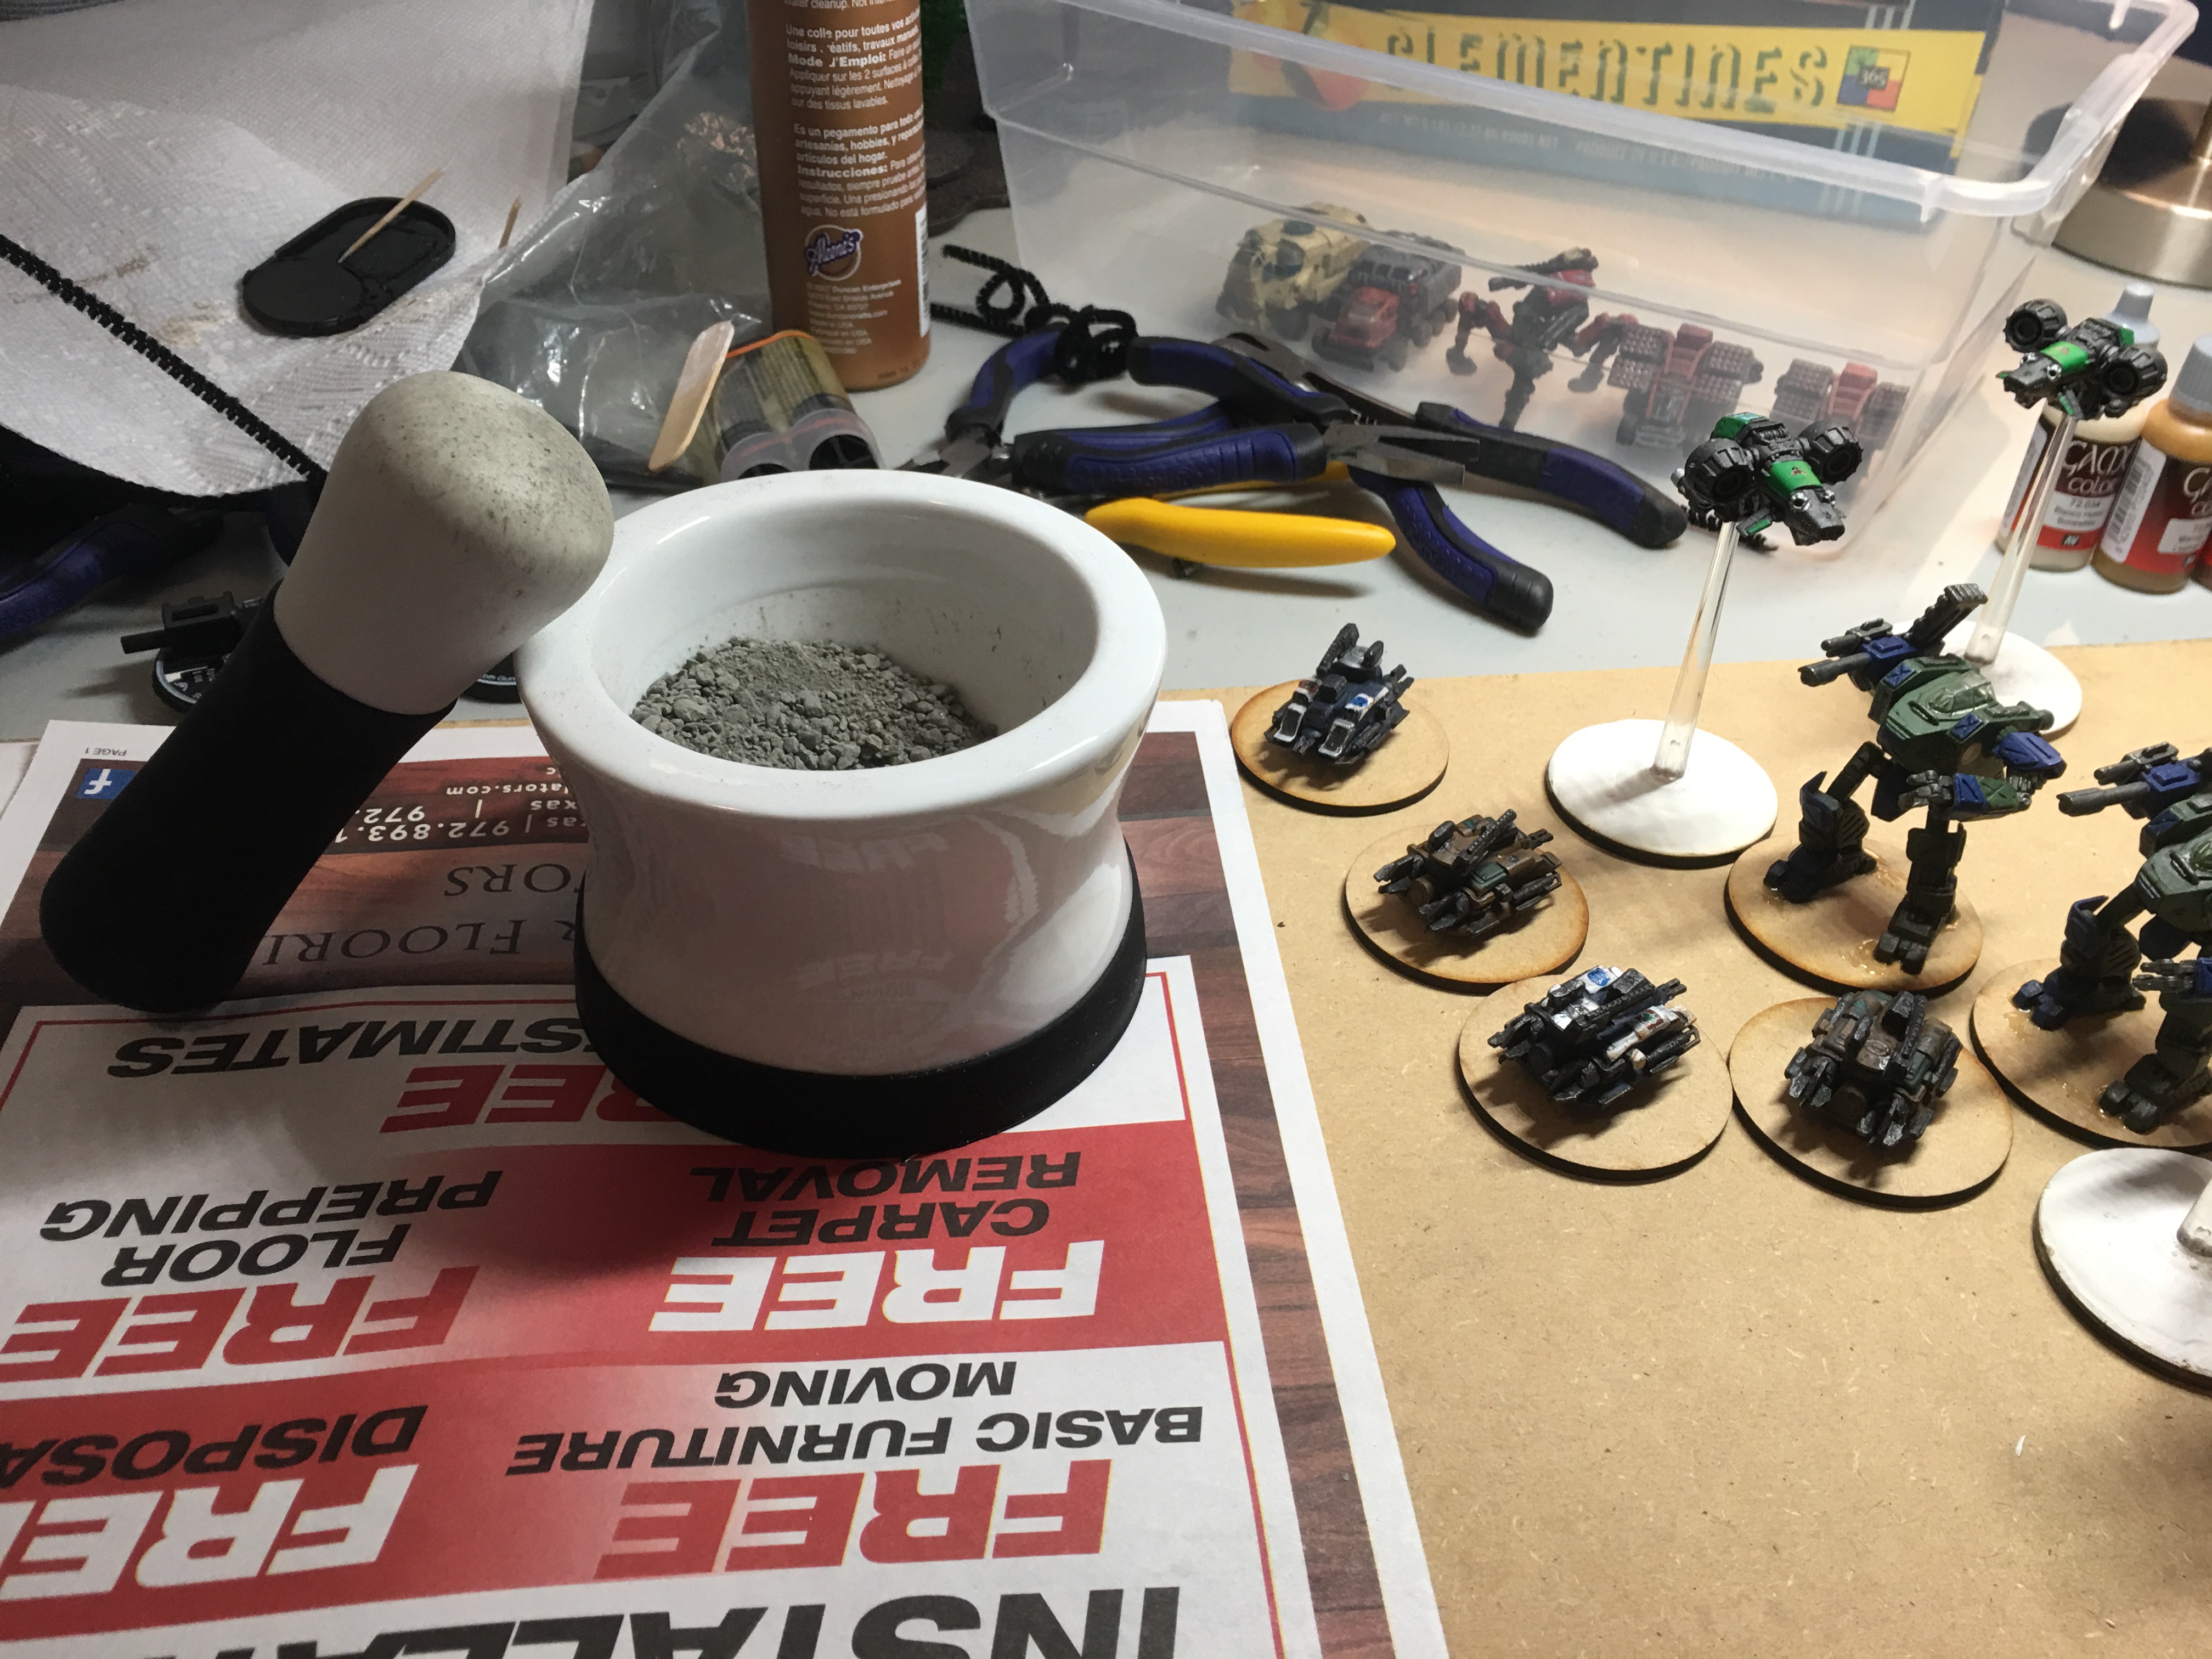
Then I created basing material by taking some clay kitty litter, and using a mortar and pestle to grind the material down to a find sand with some loose chunks.
Then I used 5 minute epoxy to glue the models onto 2″ round MDF wood bases I got from Texas Toy Soldier.
Step 2: Gluing on Basing Material
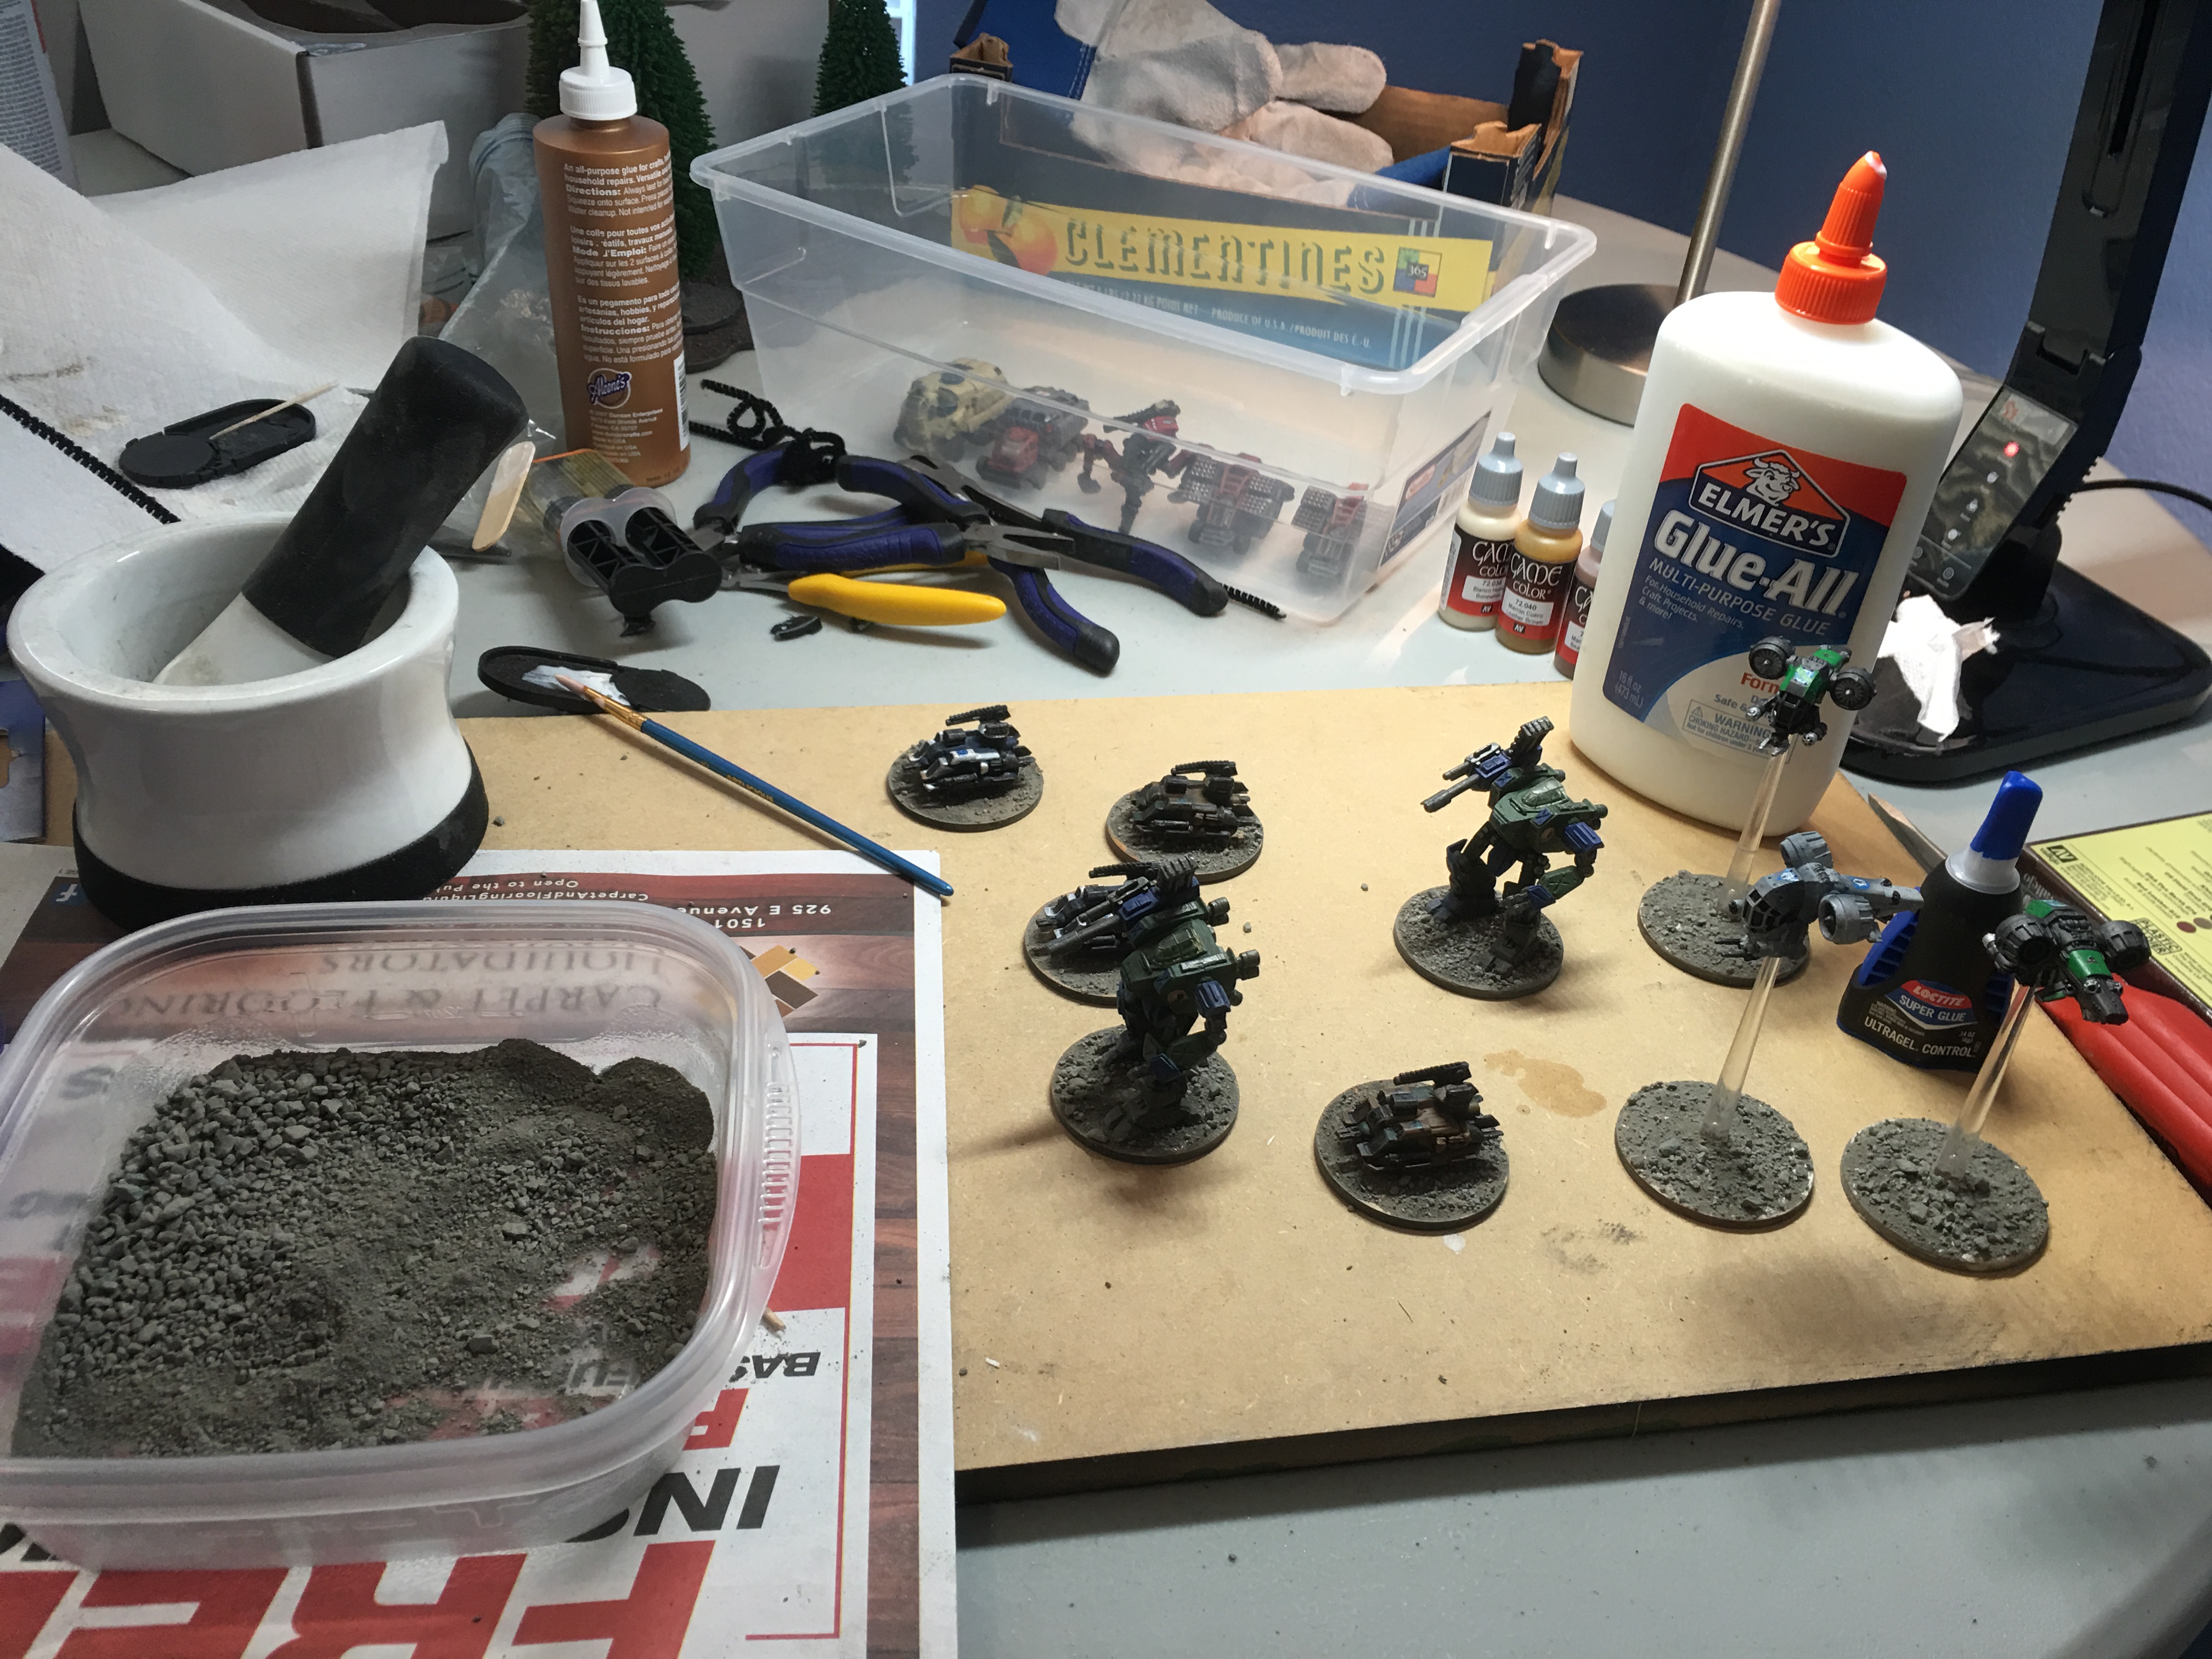
Next up, I used 100% PVA glue and used a paint brush to paint the bases with glue. Then I sprinkled the crushed kitty litter basing material on, and let that dry (I put it next to a fan to accelerate the drying process).
Step 3: Sealing the Basing Material
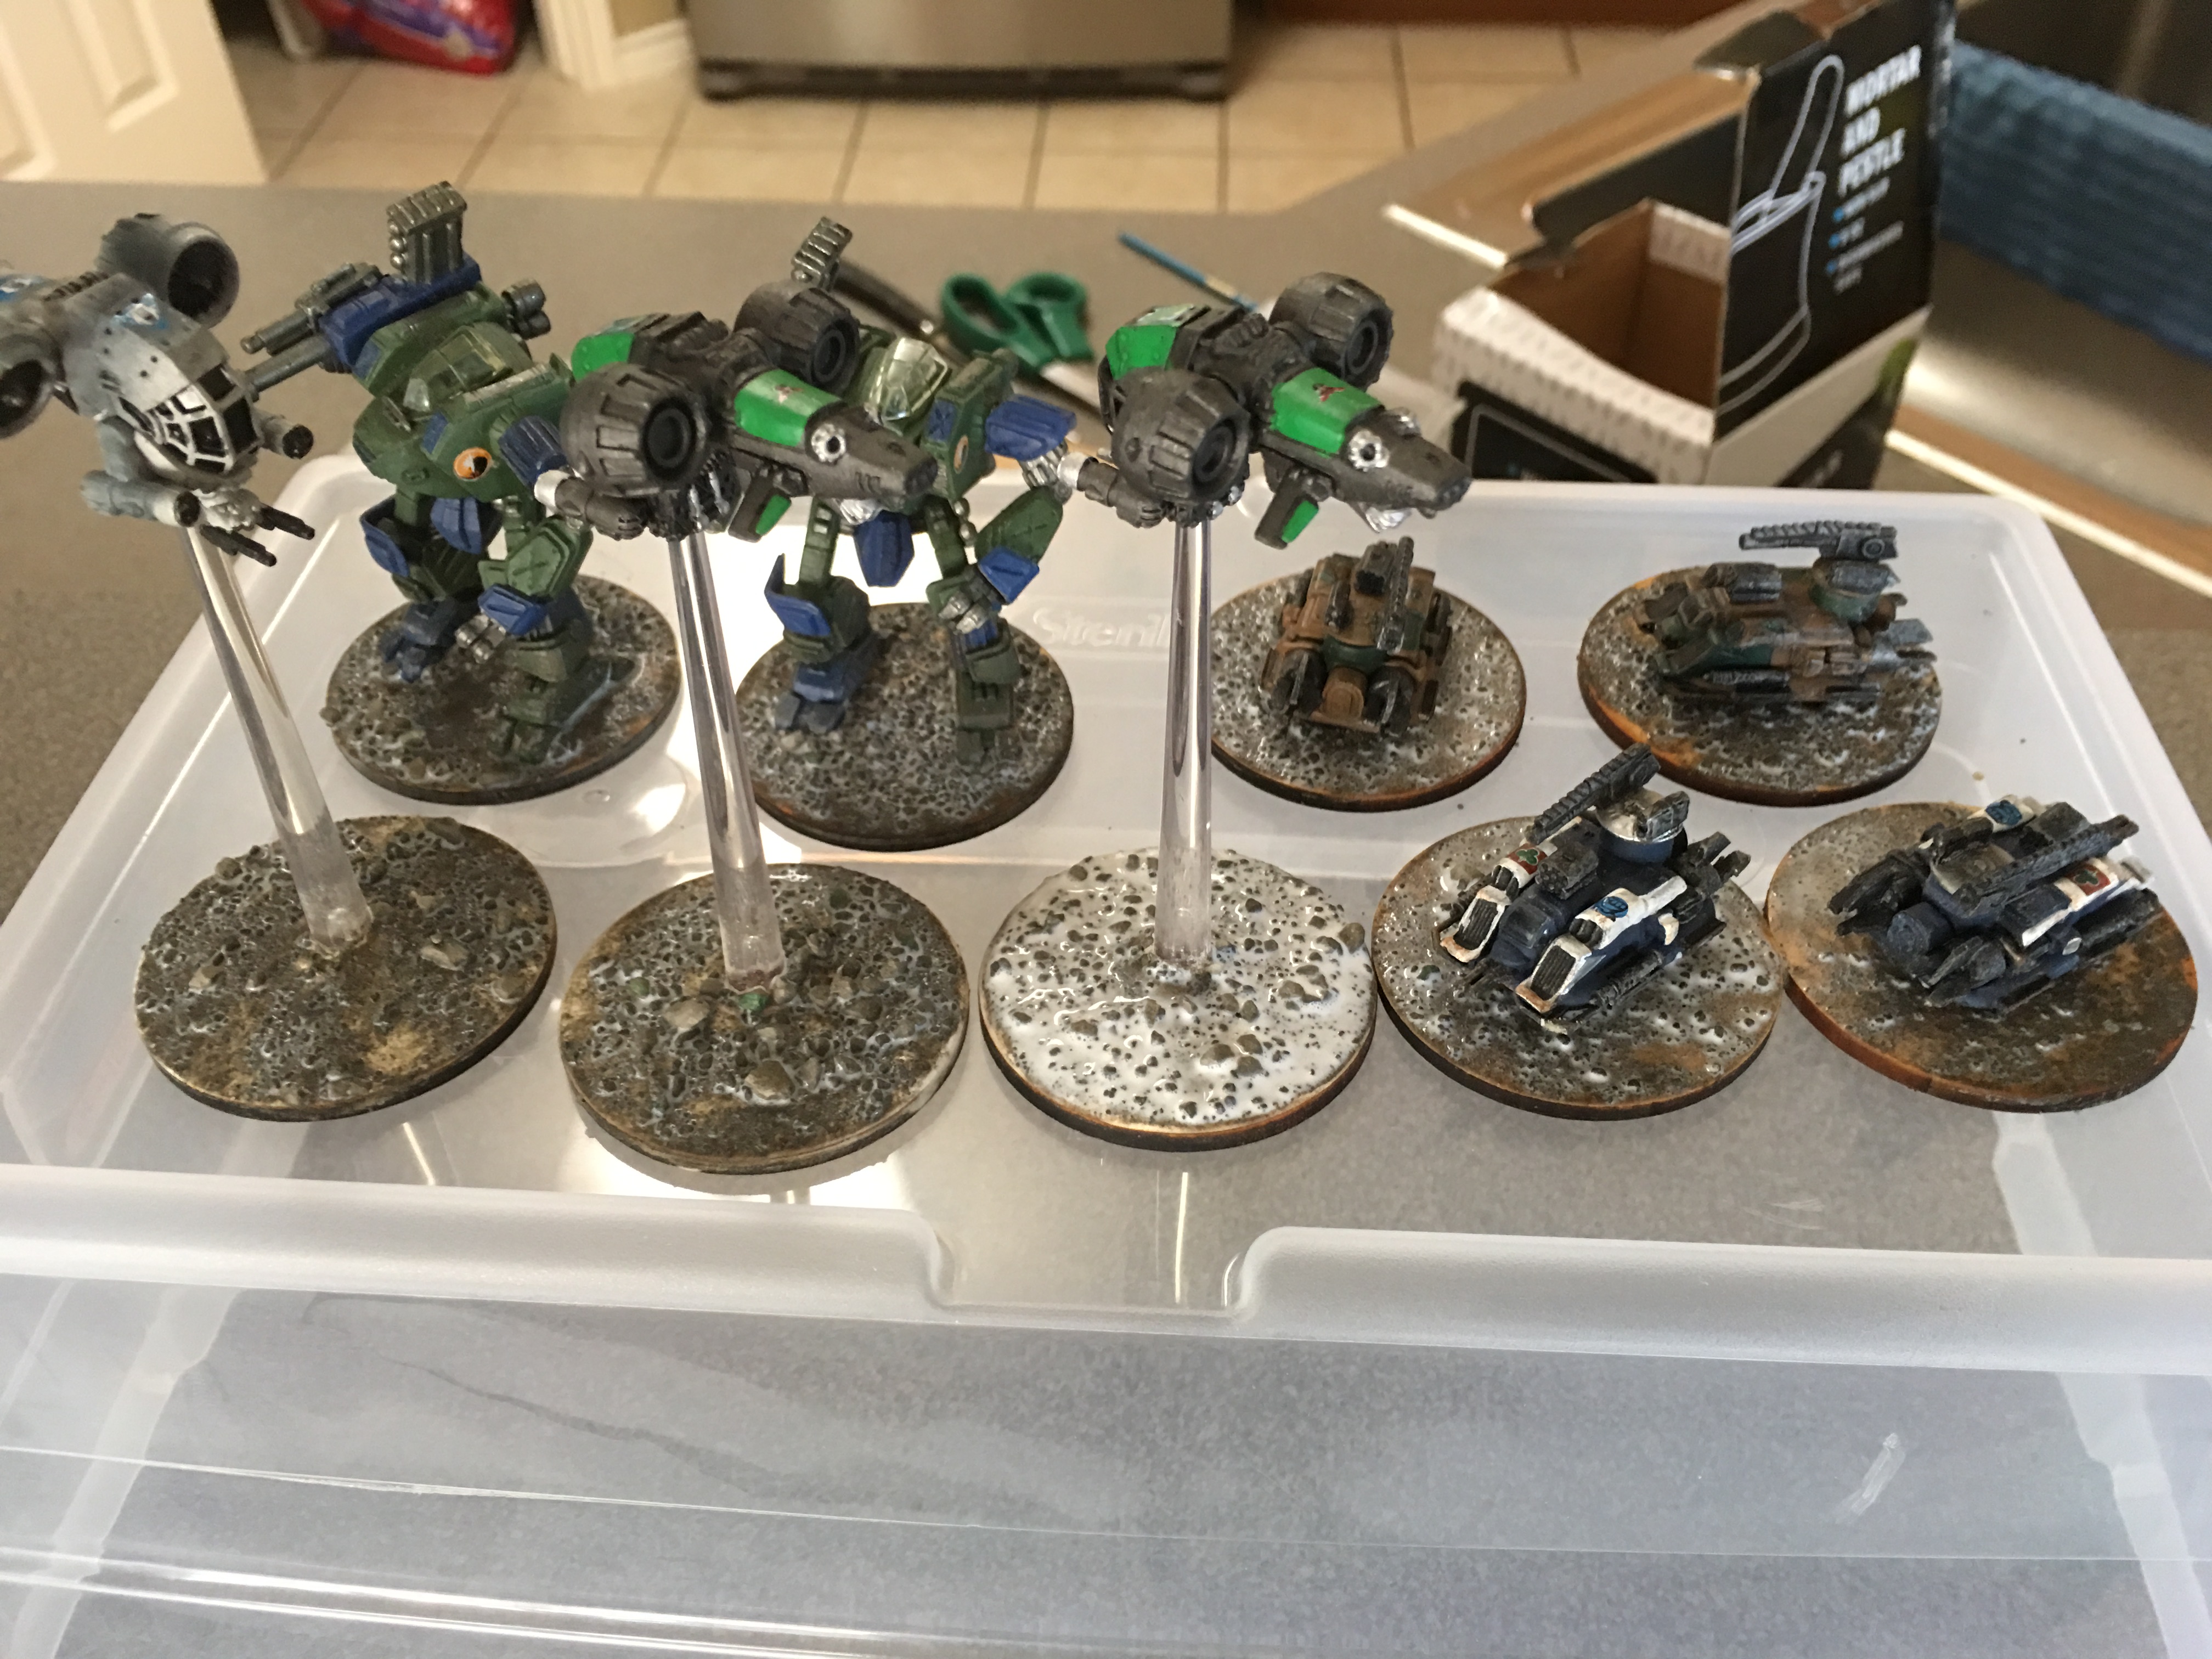
After it dried, I then watered down PVA glue with about 50% water and 50% glue and brushed that on. When dry it will form a seal to keep the basing material in place.
Step 4: Beasty Brown Base Coat Paint
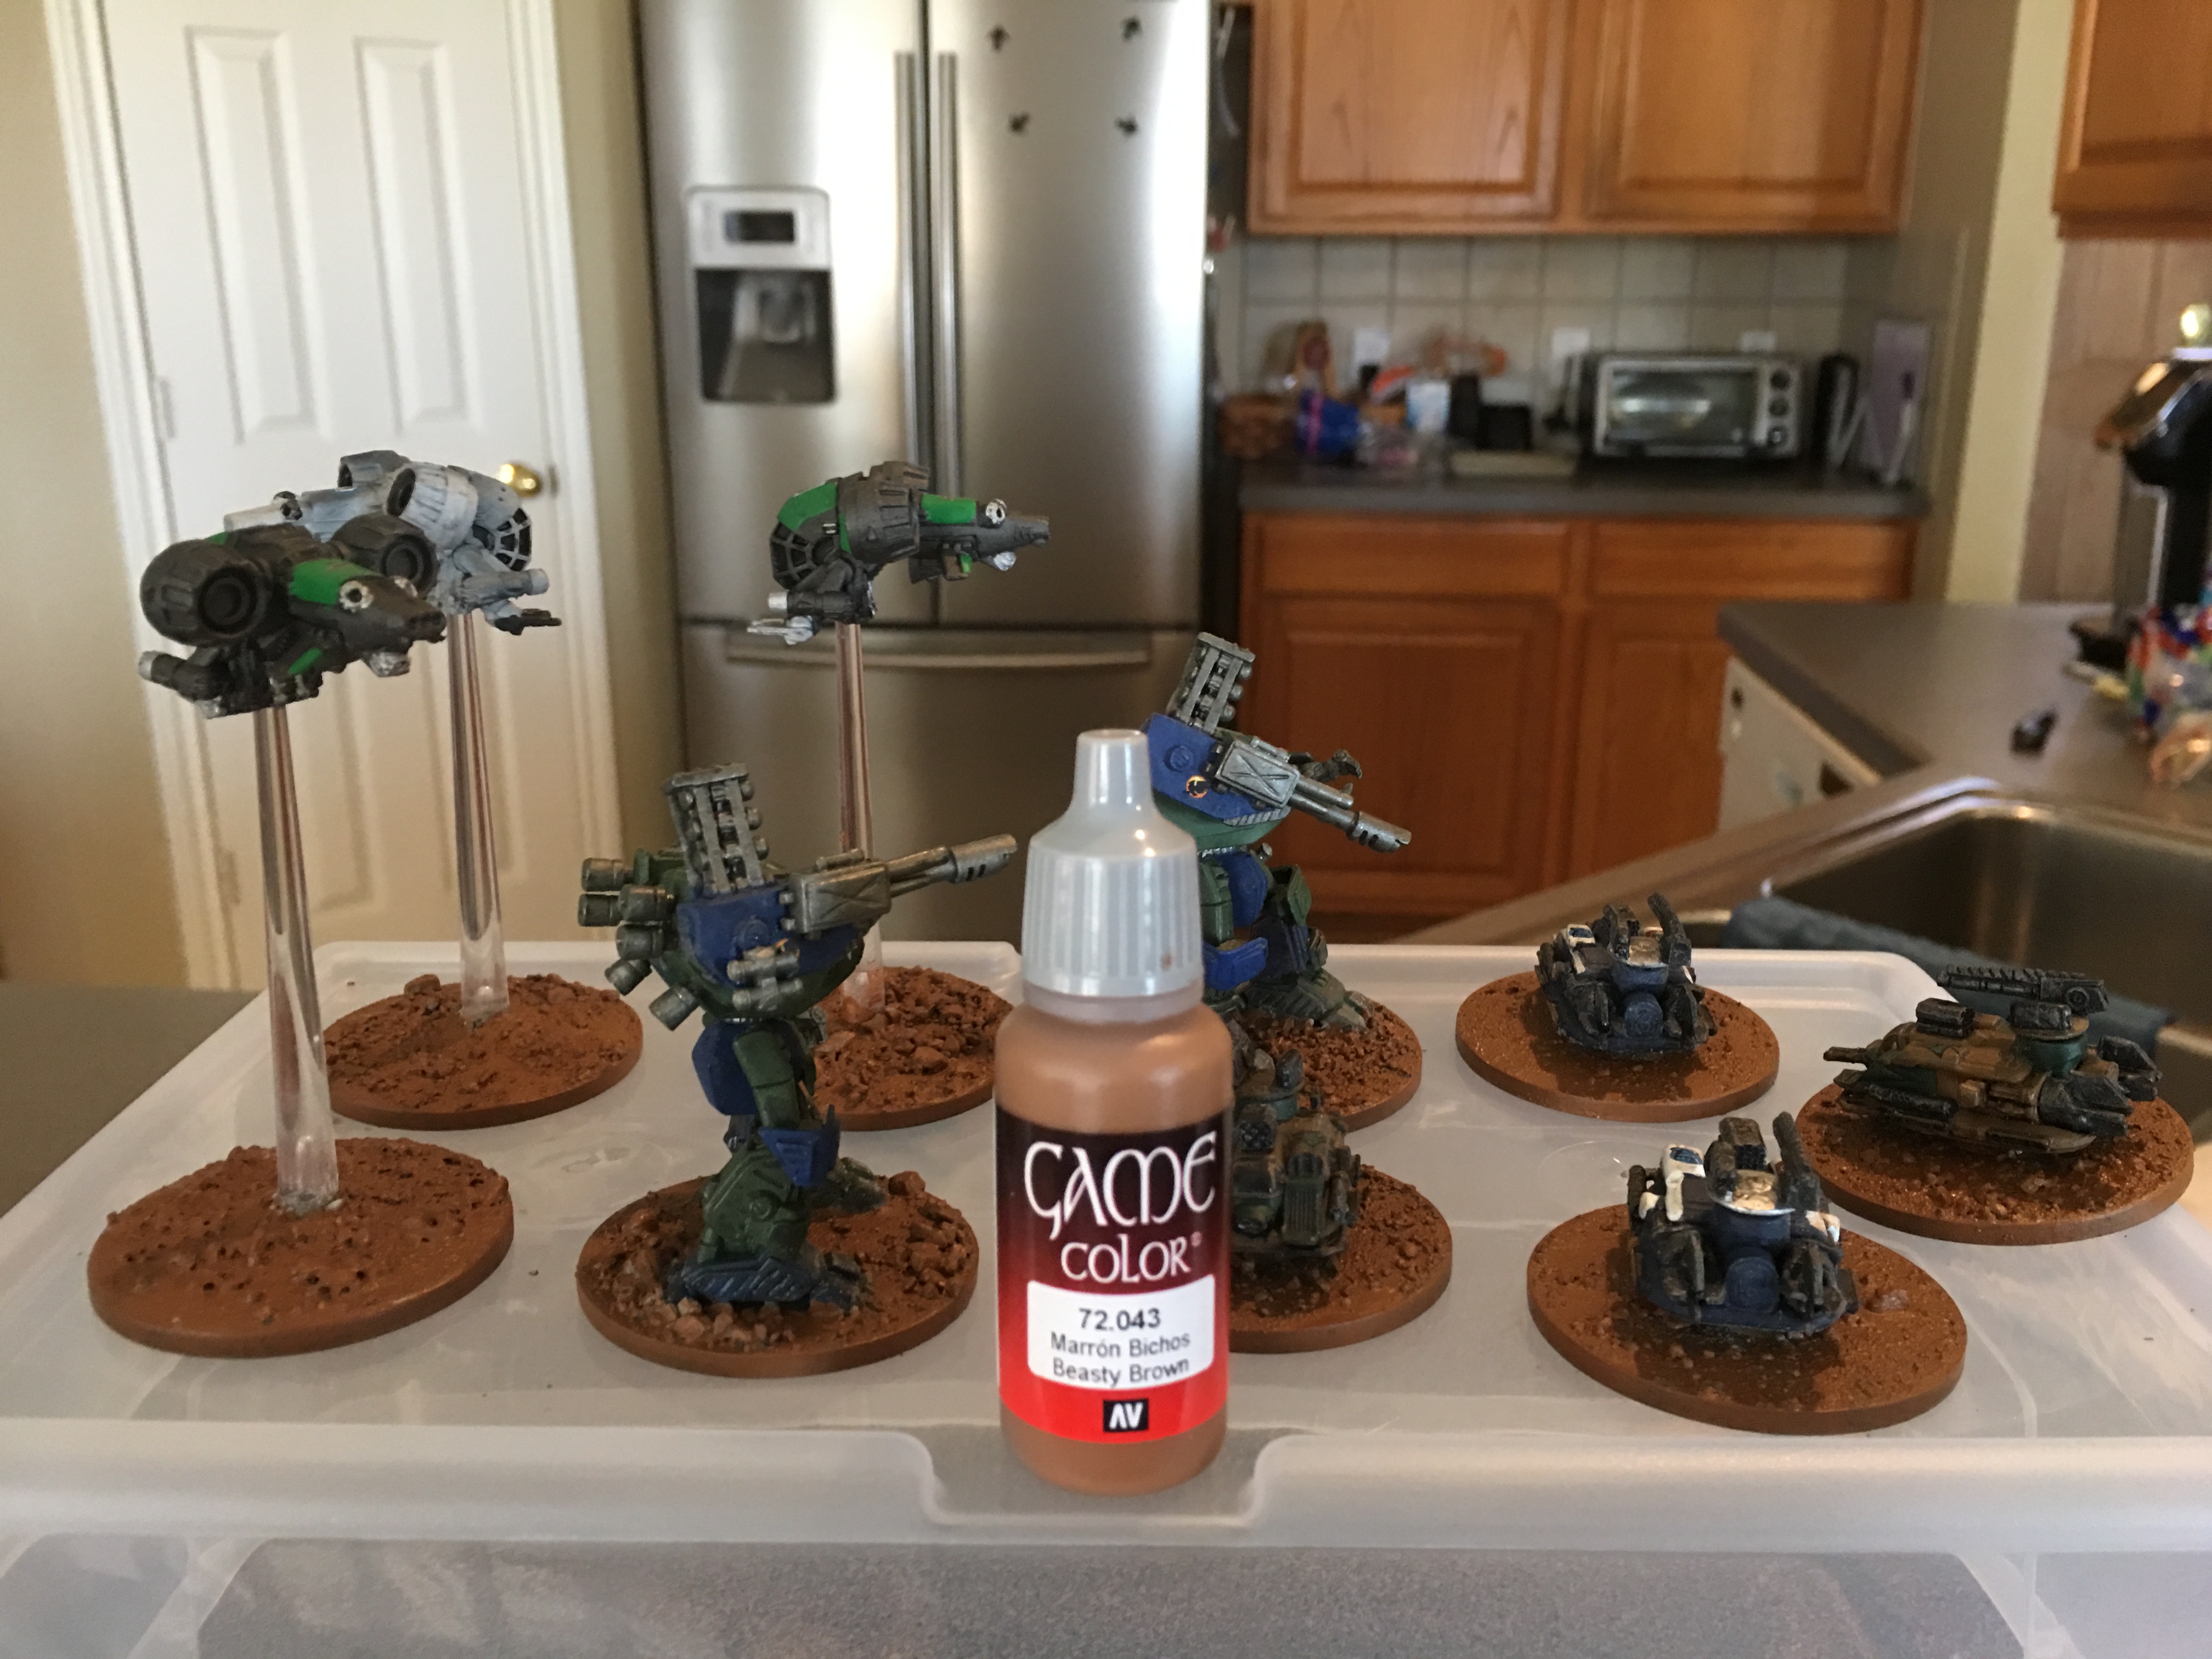
Using various Vallejo paints, I do a full base coat of Beasty Brown and let it dryl.
Step 5: Highlights with Leather Brown
Next I highlight (sort of a heavy dry-brown) with Leather Brown and let dry.
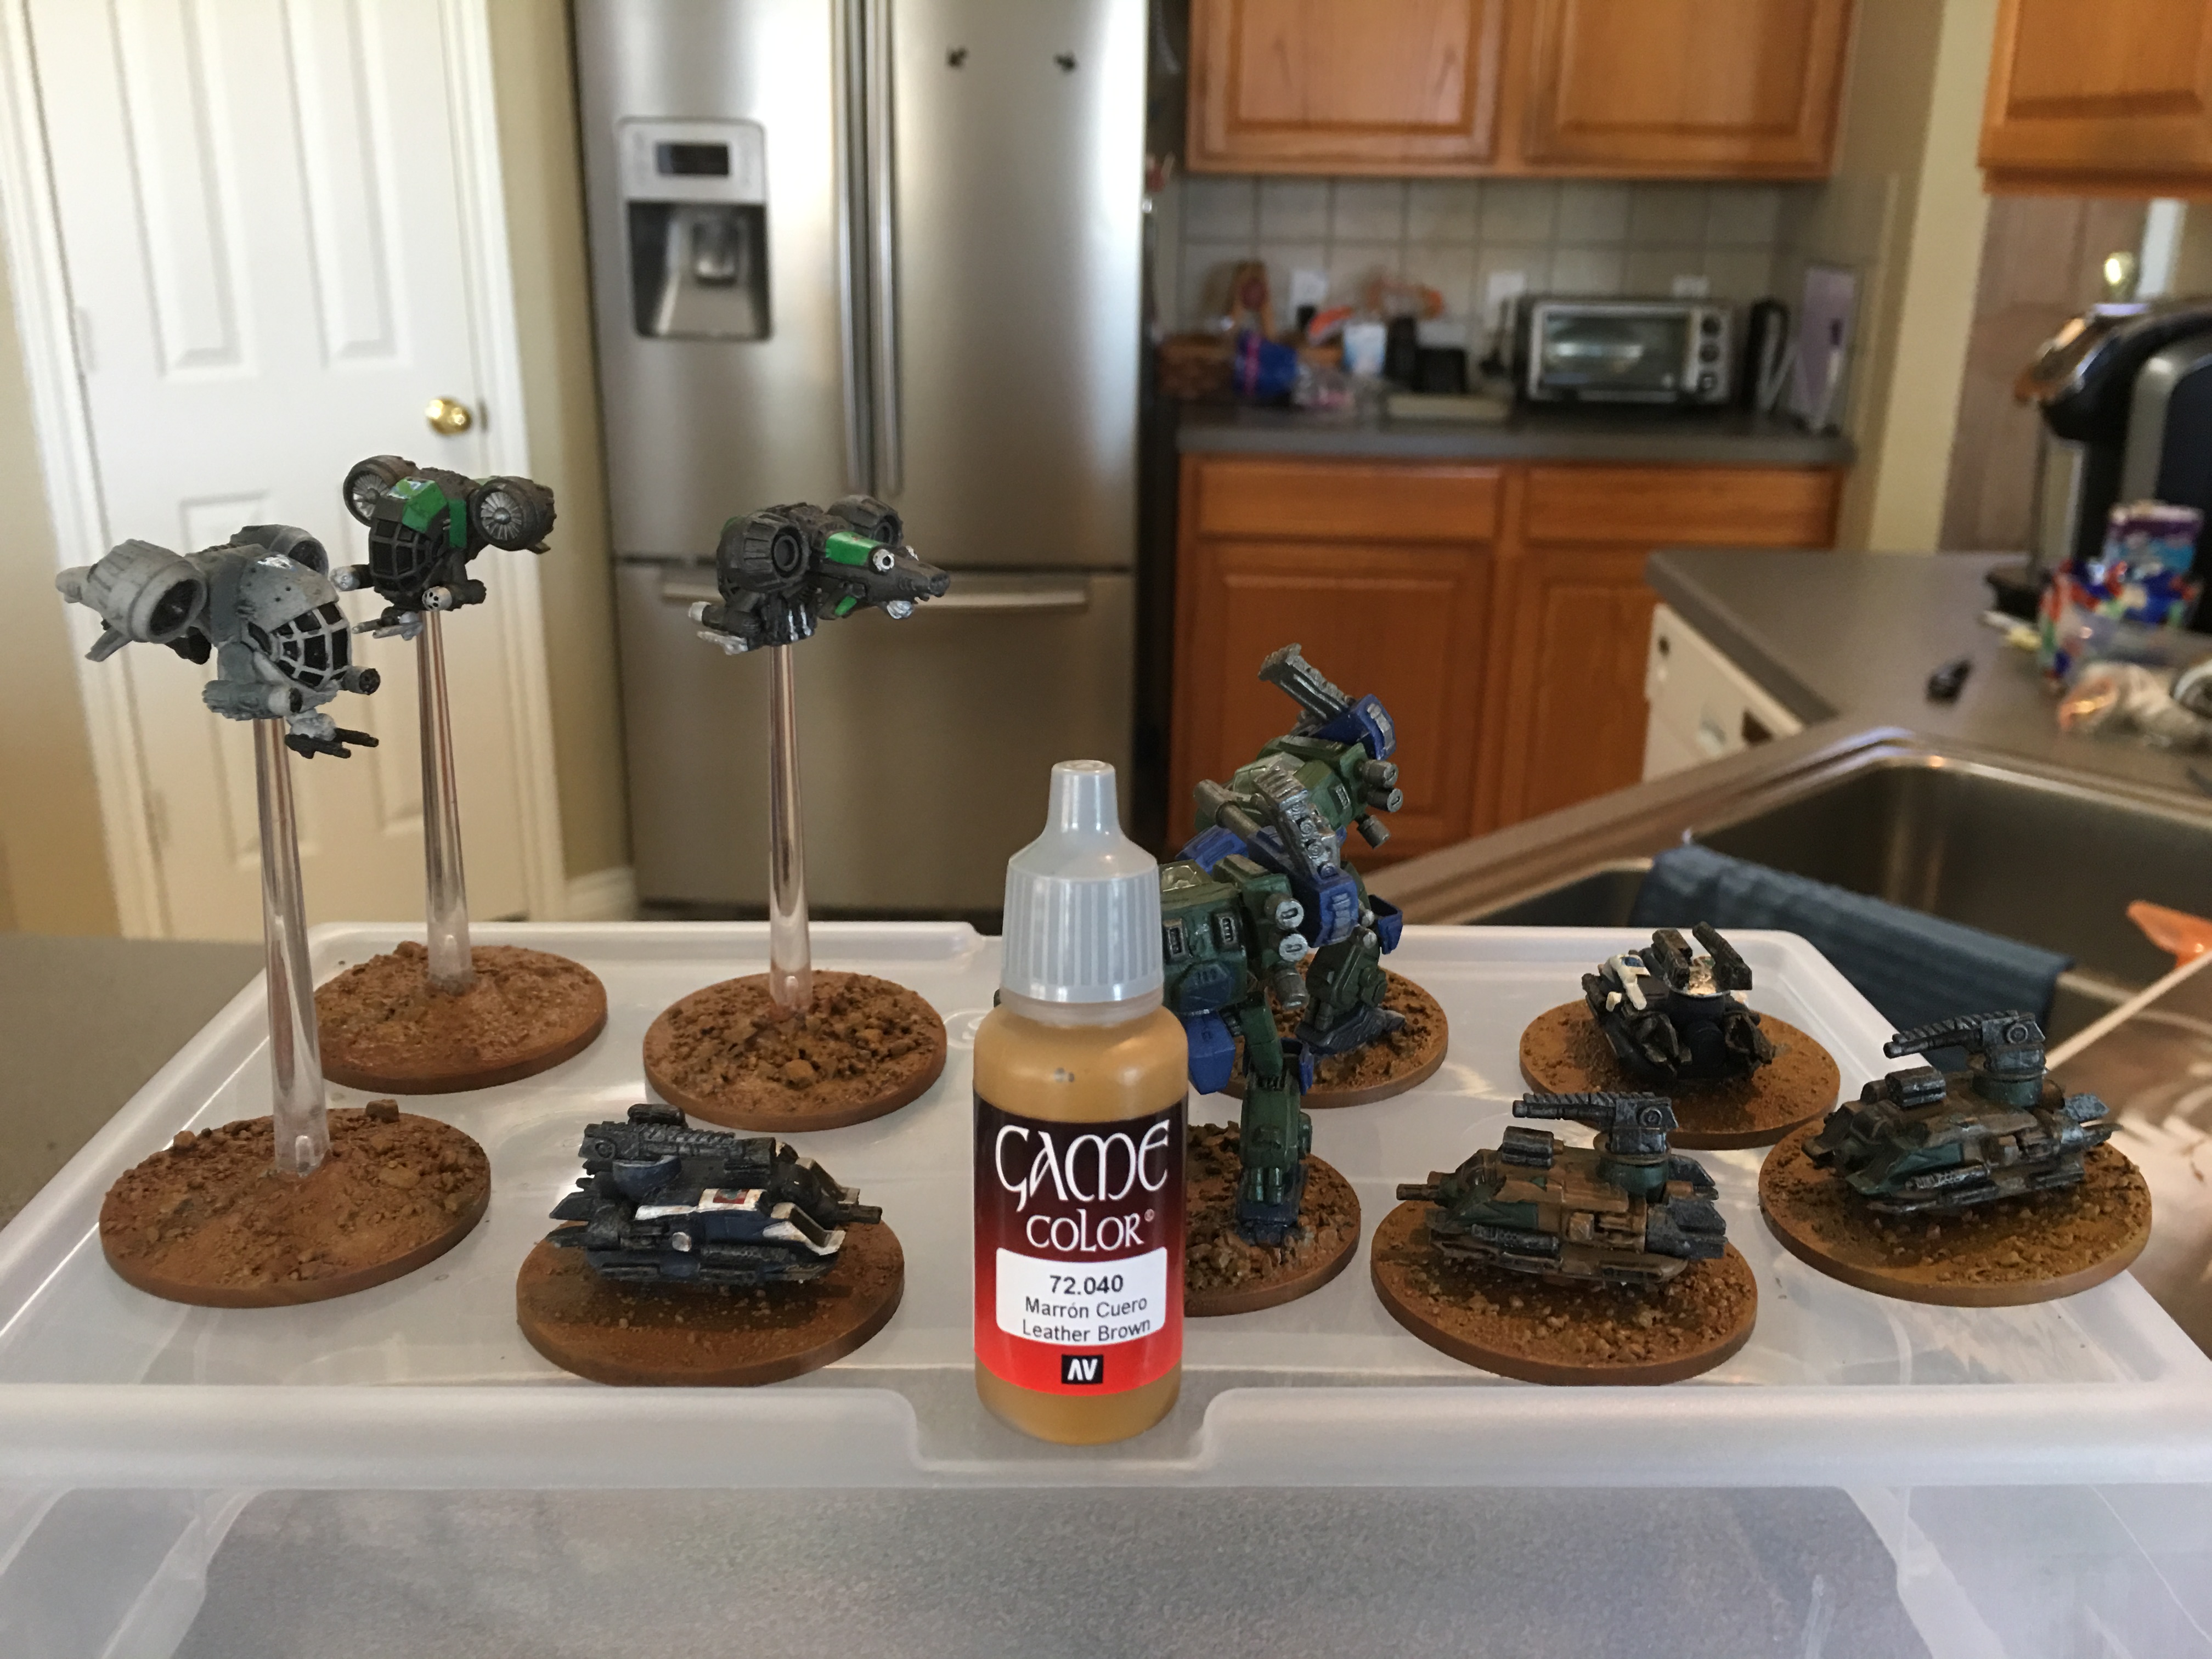
Step 6: Drybrush with Bonewhite
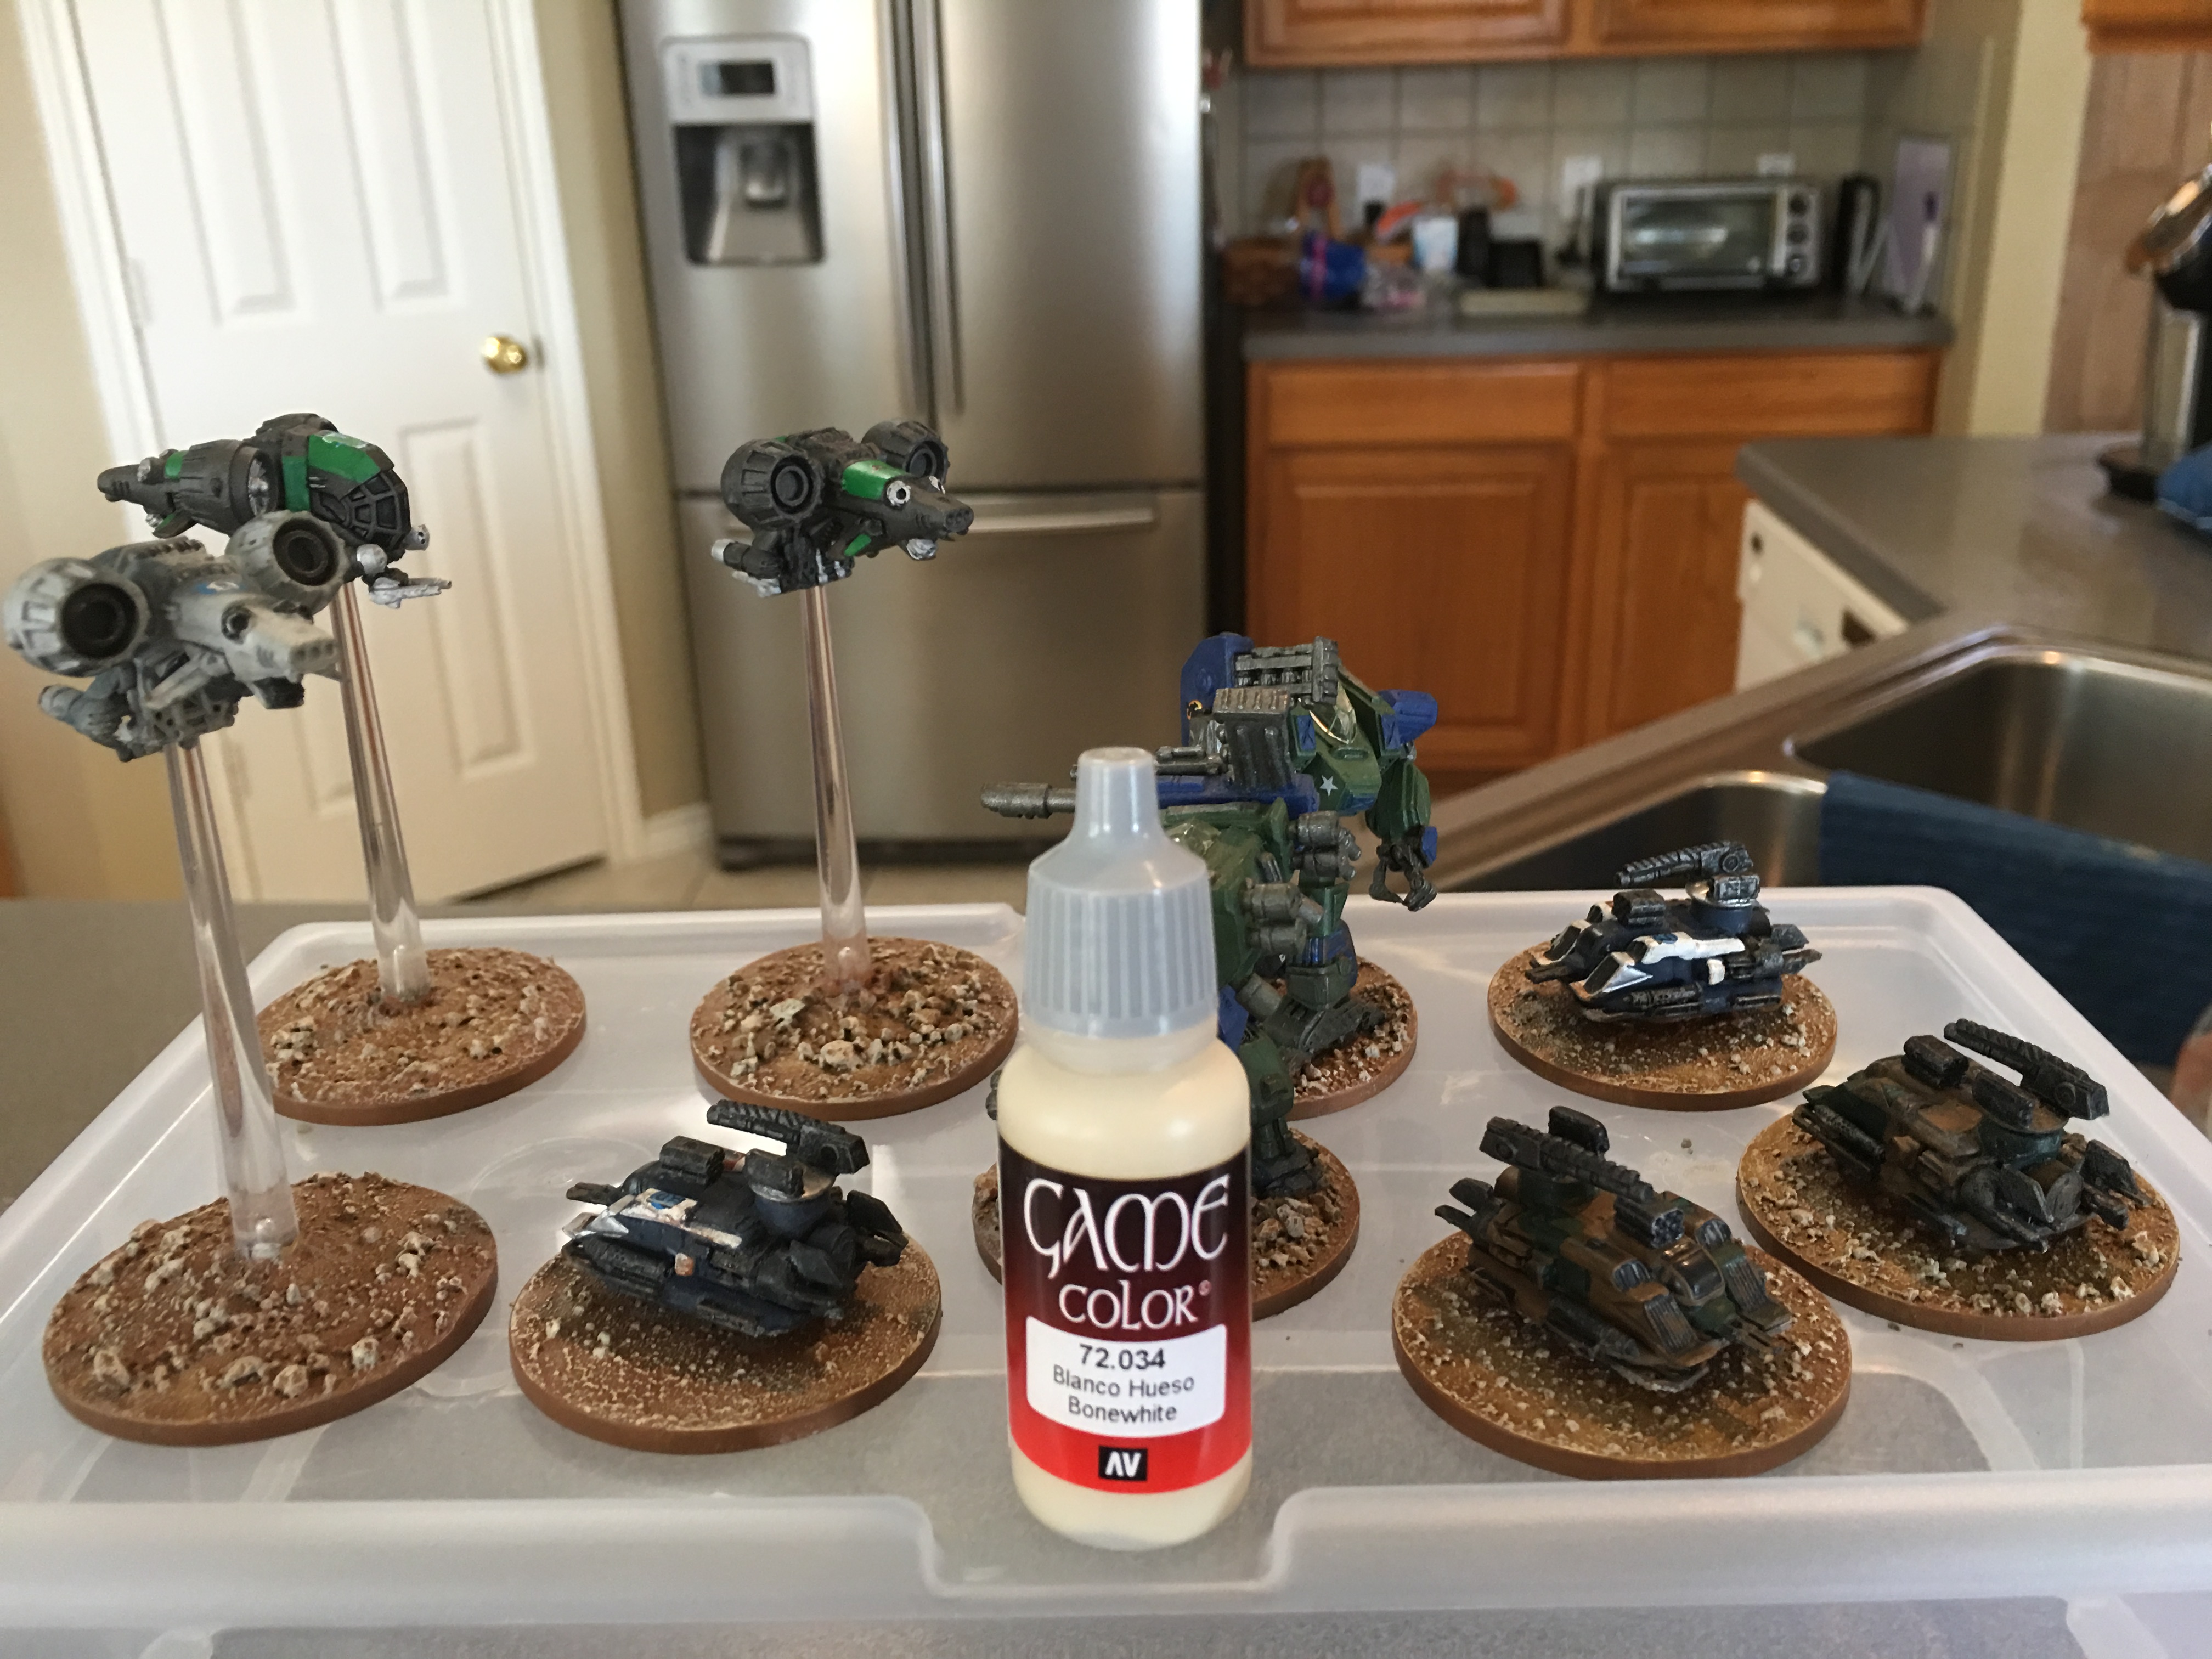
Lastly, I drybrush with Bonewhite. Now the rocks really start to pop! If I get too much paint in some places, I’ll apply flocking or grass in that spot to ‘fix’ it. After these dry I re-apply Beasty Brown around the rim to fix any spots where Leather Brown or Bonewhite got on the sides.
Step 7: Applying Flock Grass and Static Grass
I paint on 50/50% PVA glue/water with a brush in certain spots, I sprinkle on grass flocking, then turn upside down and tap off the excess. Then using 5 minute epoxy, I glue static grass clumps.
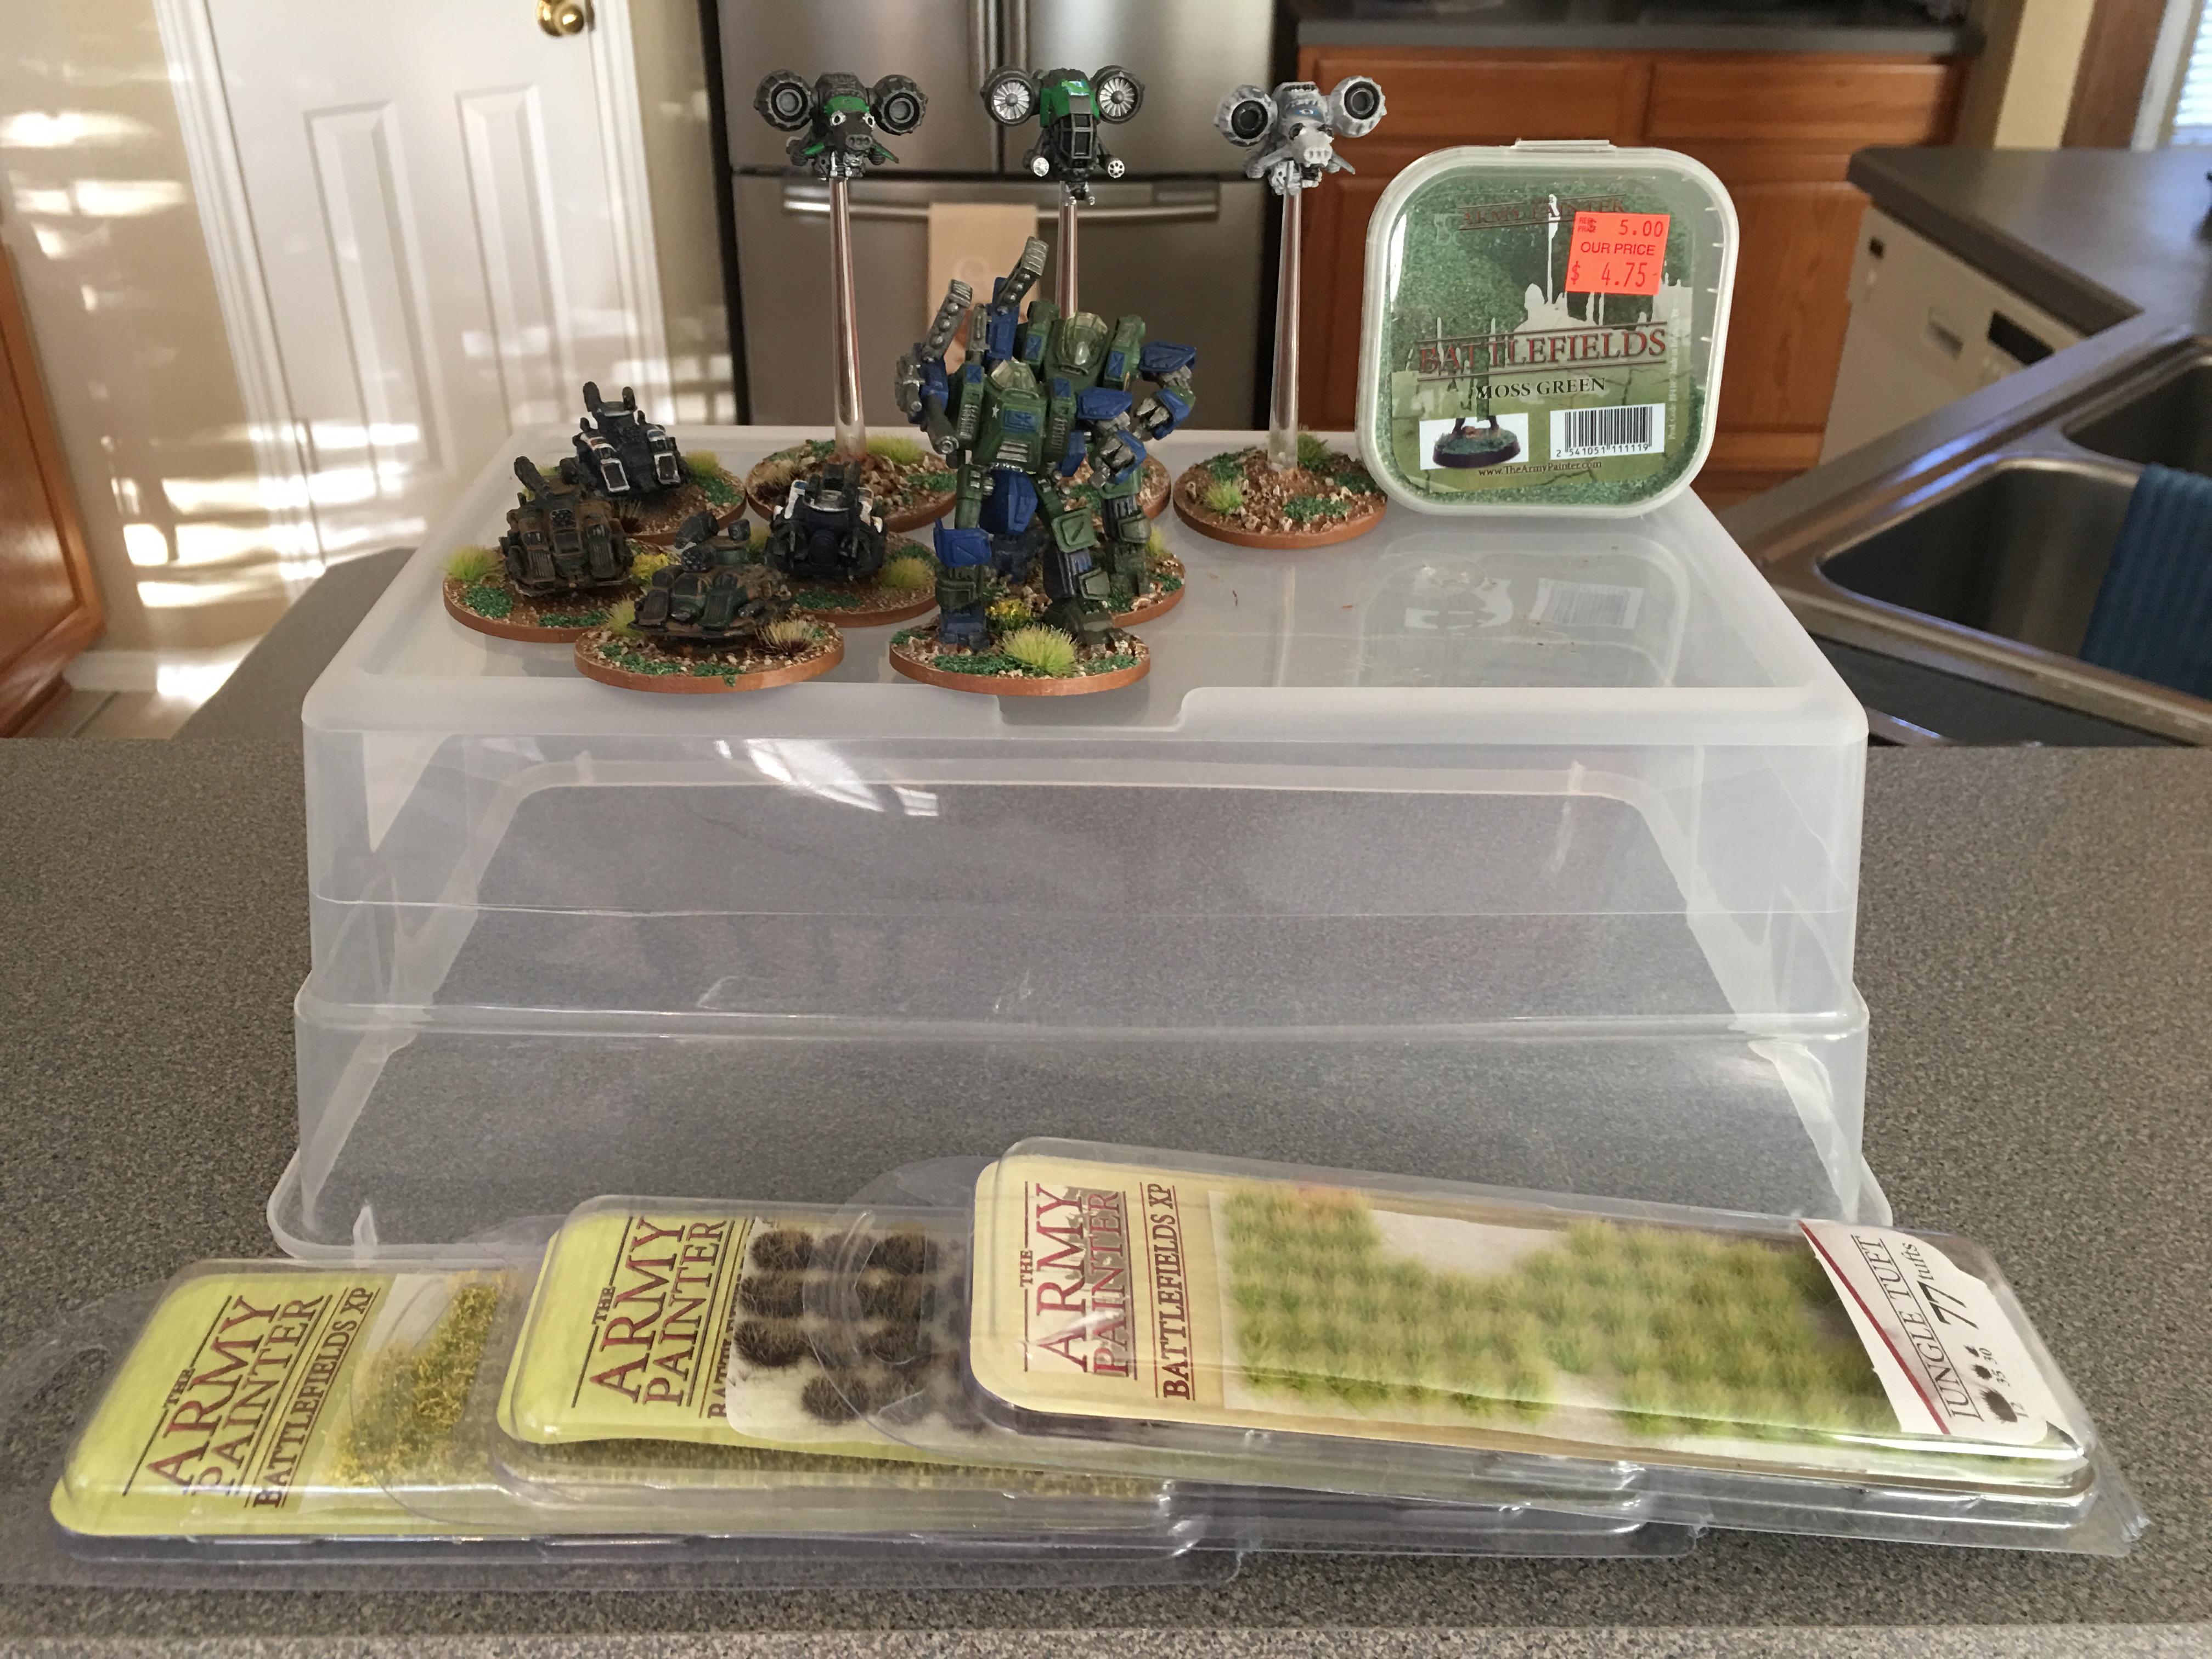
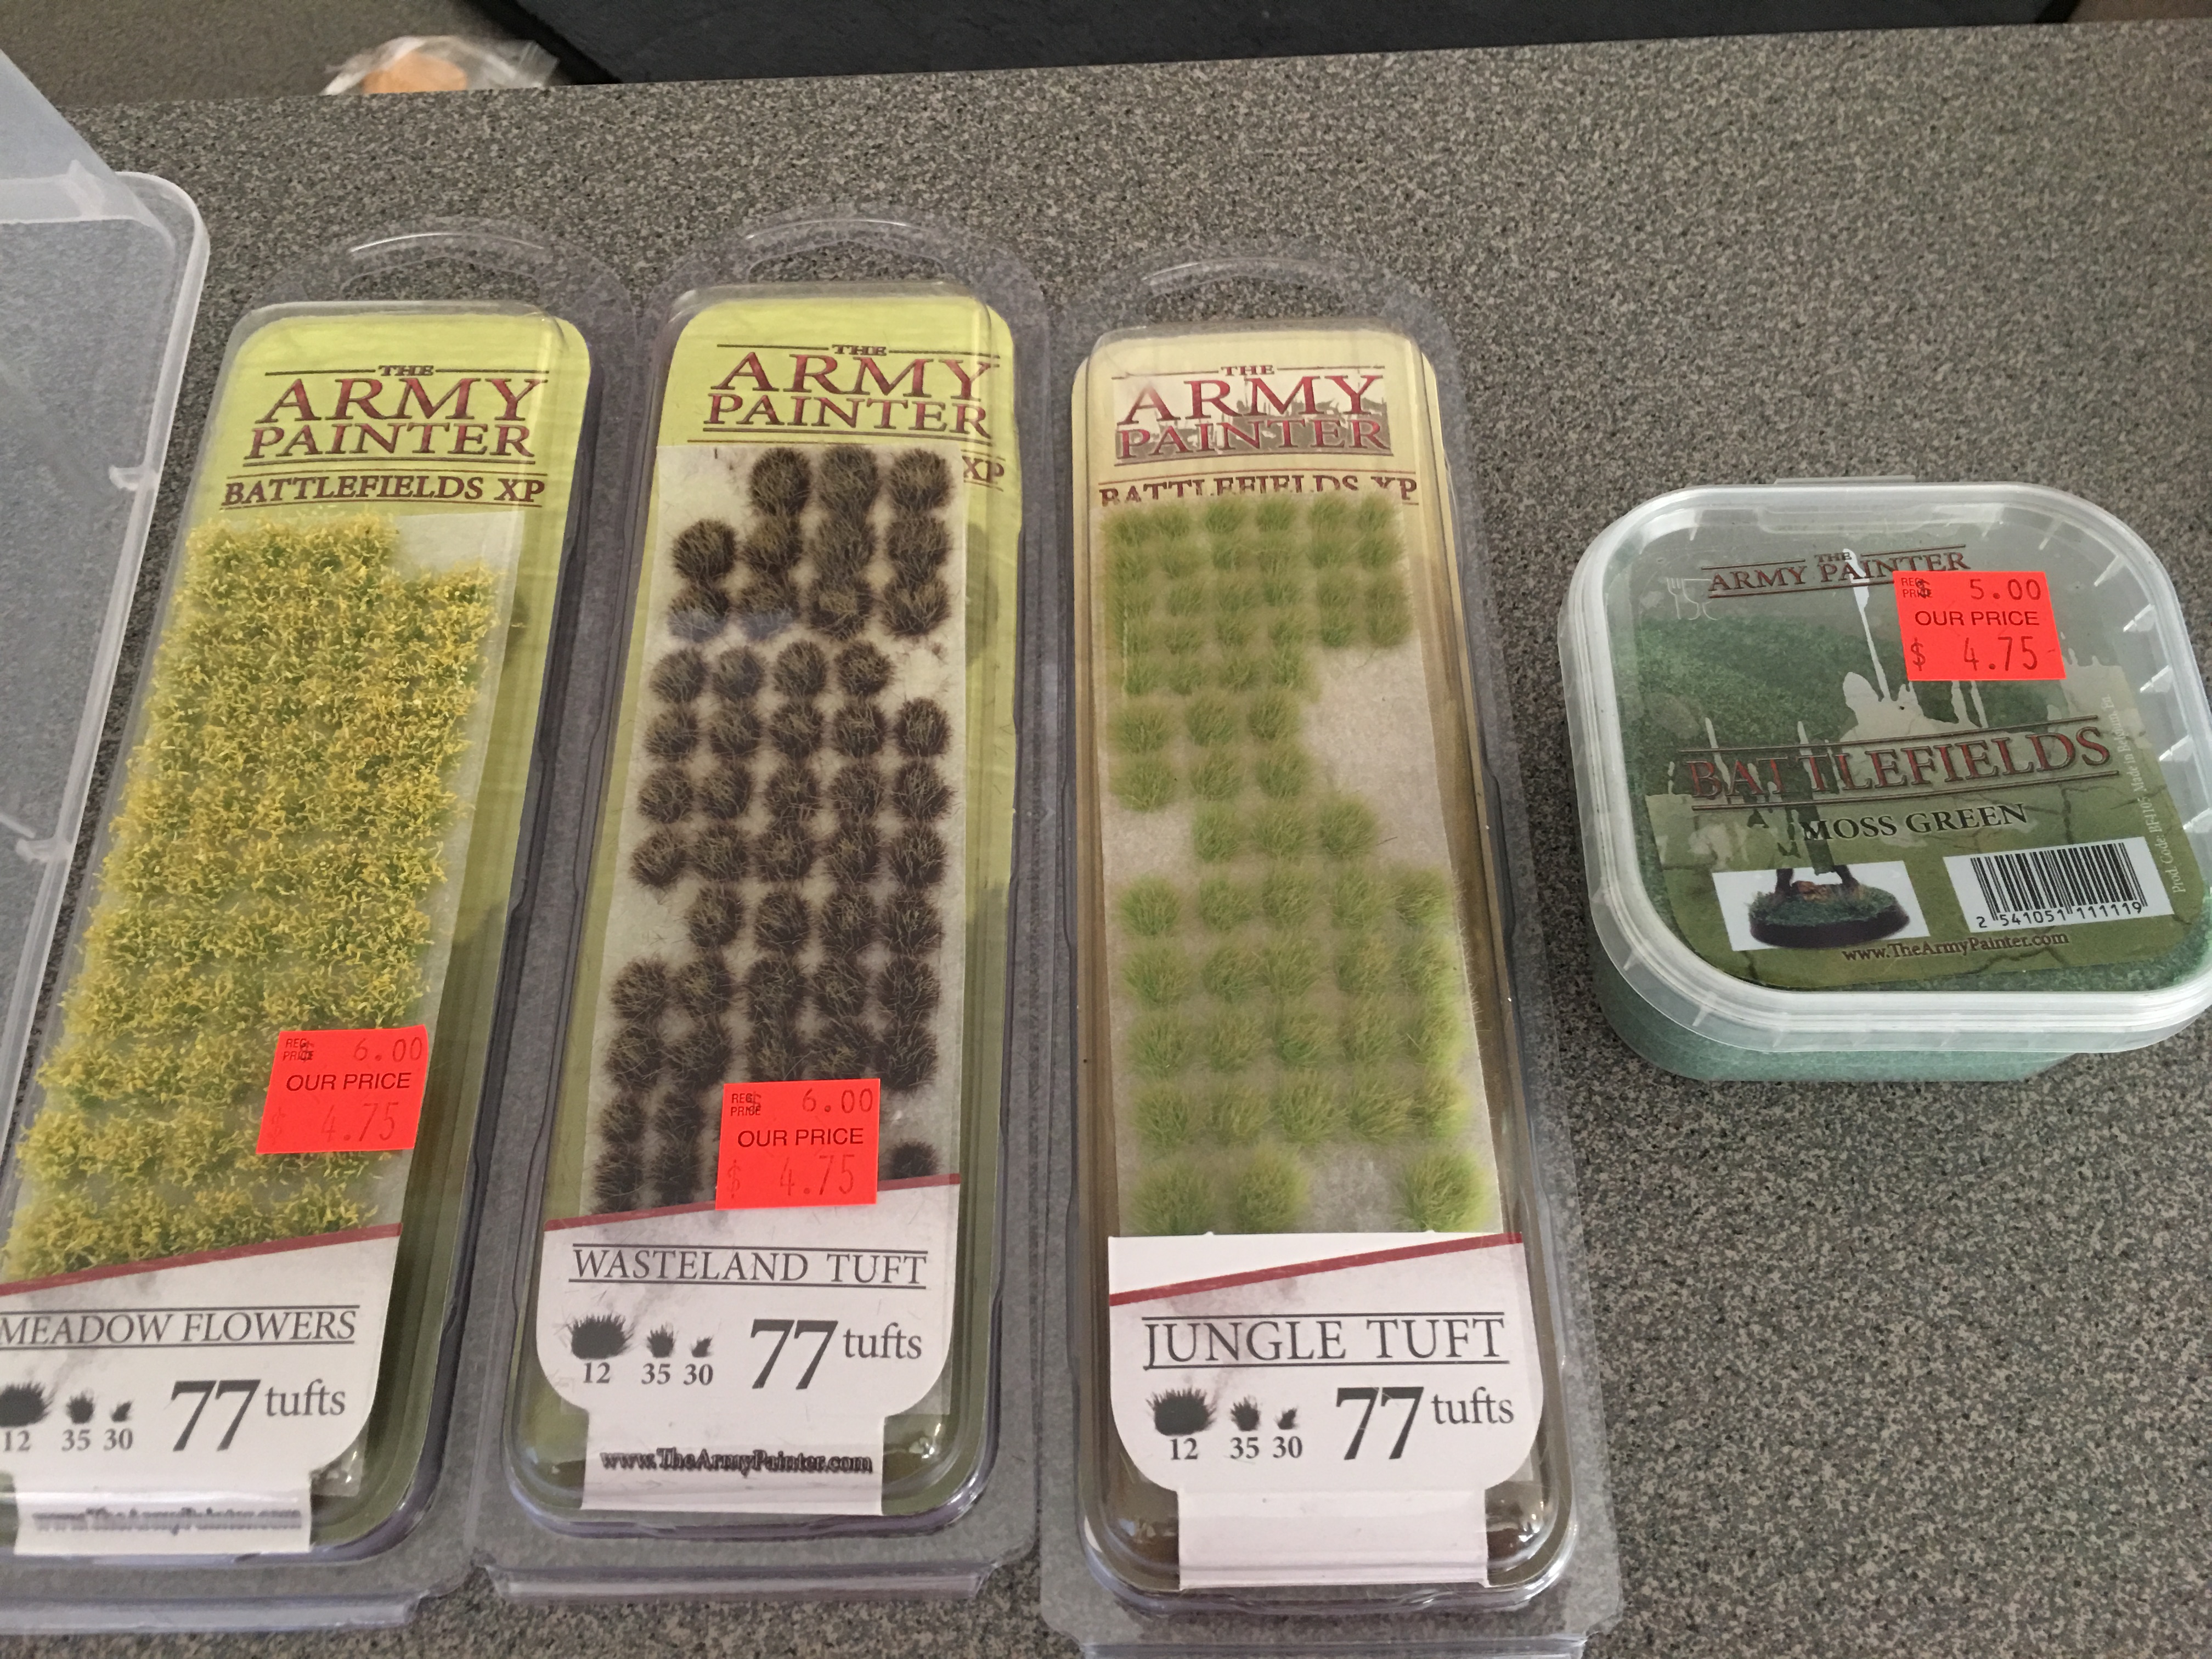
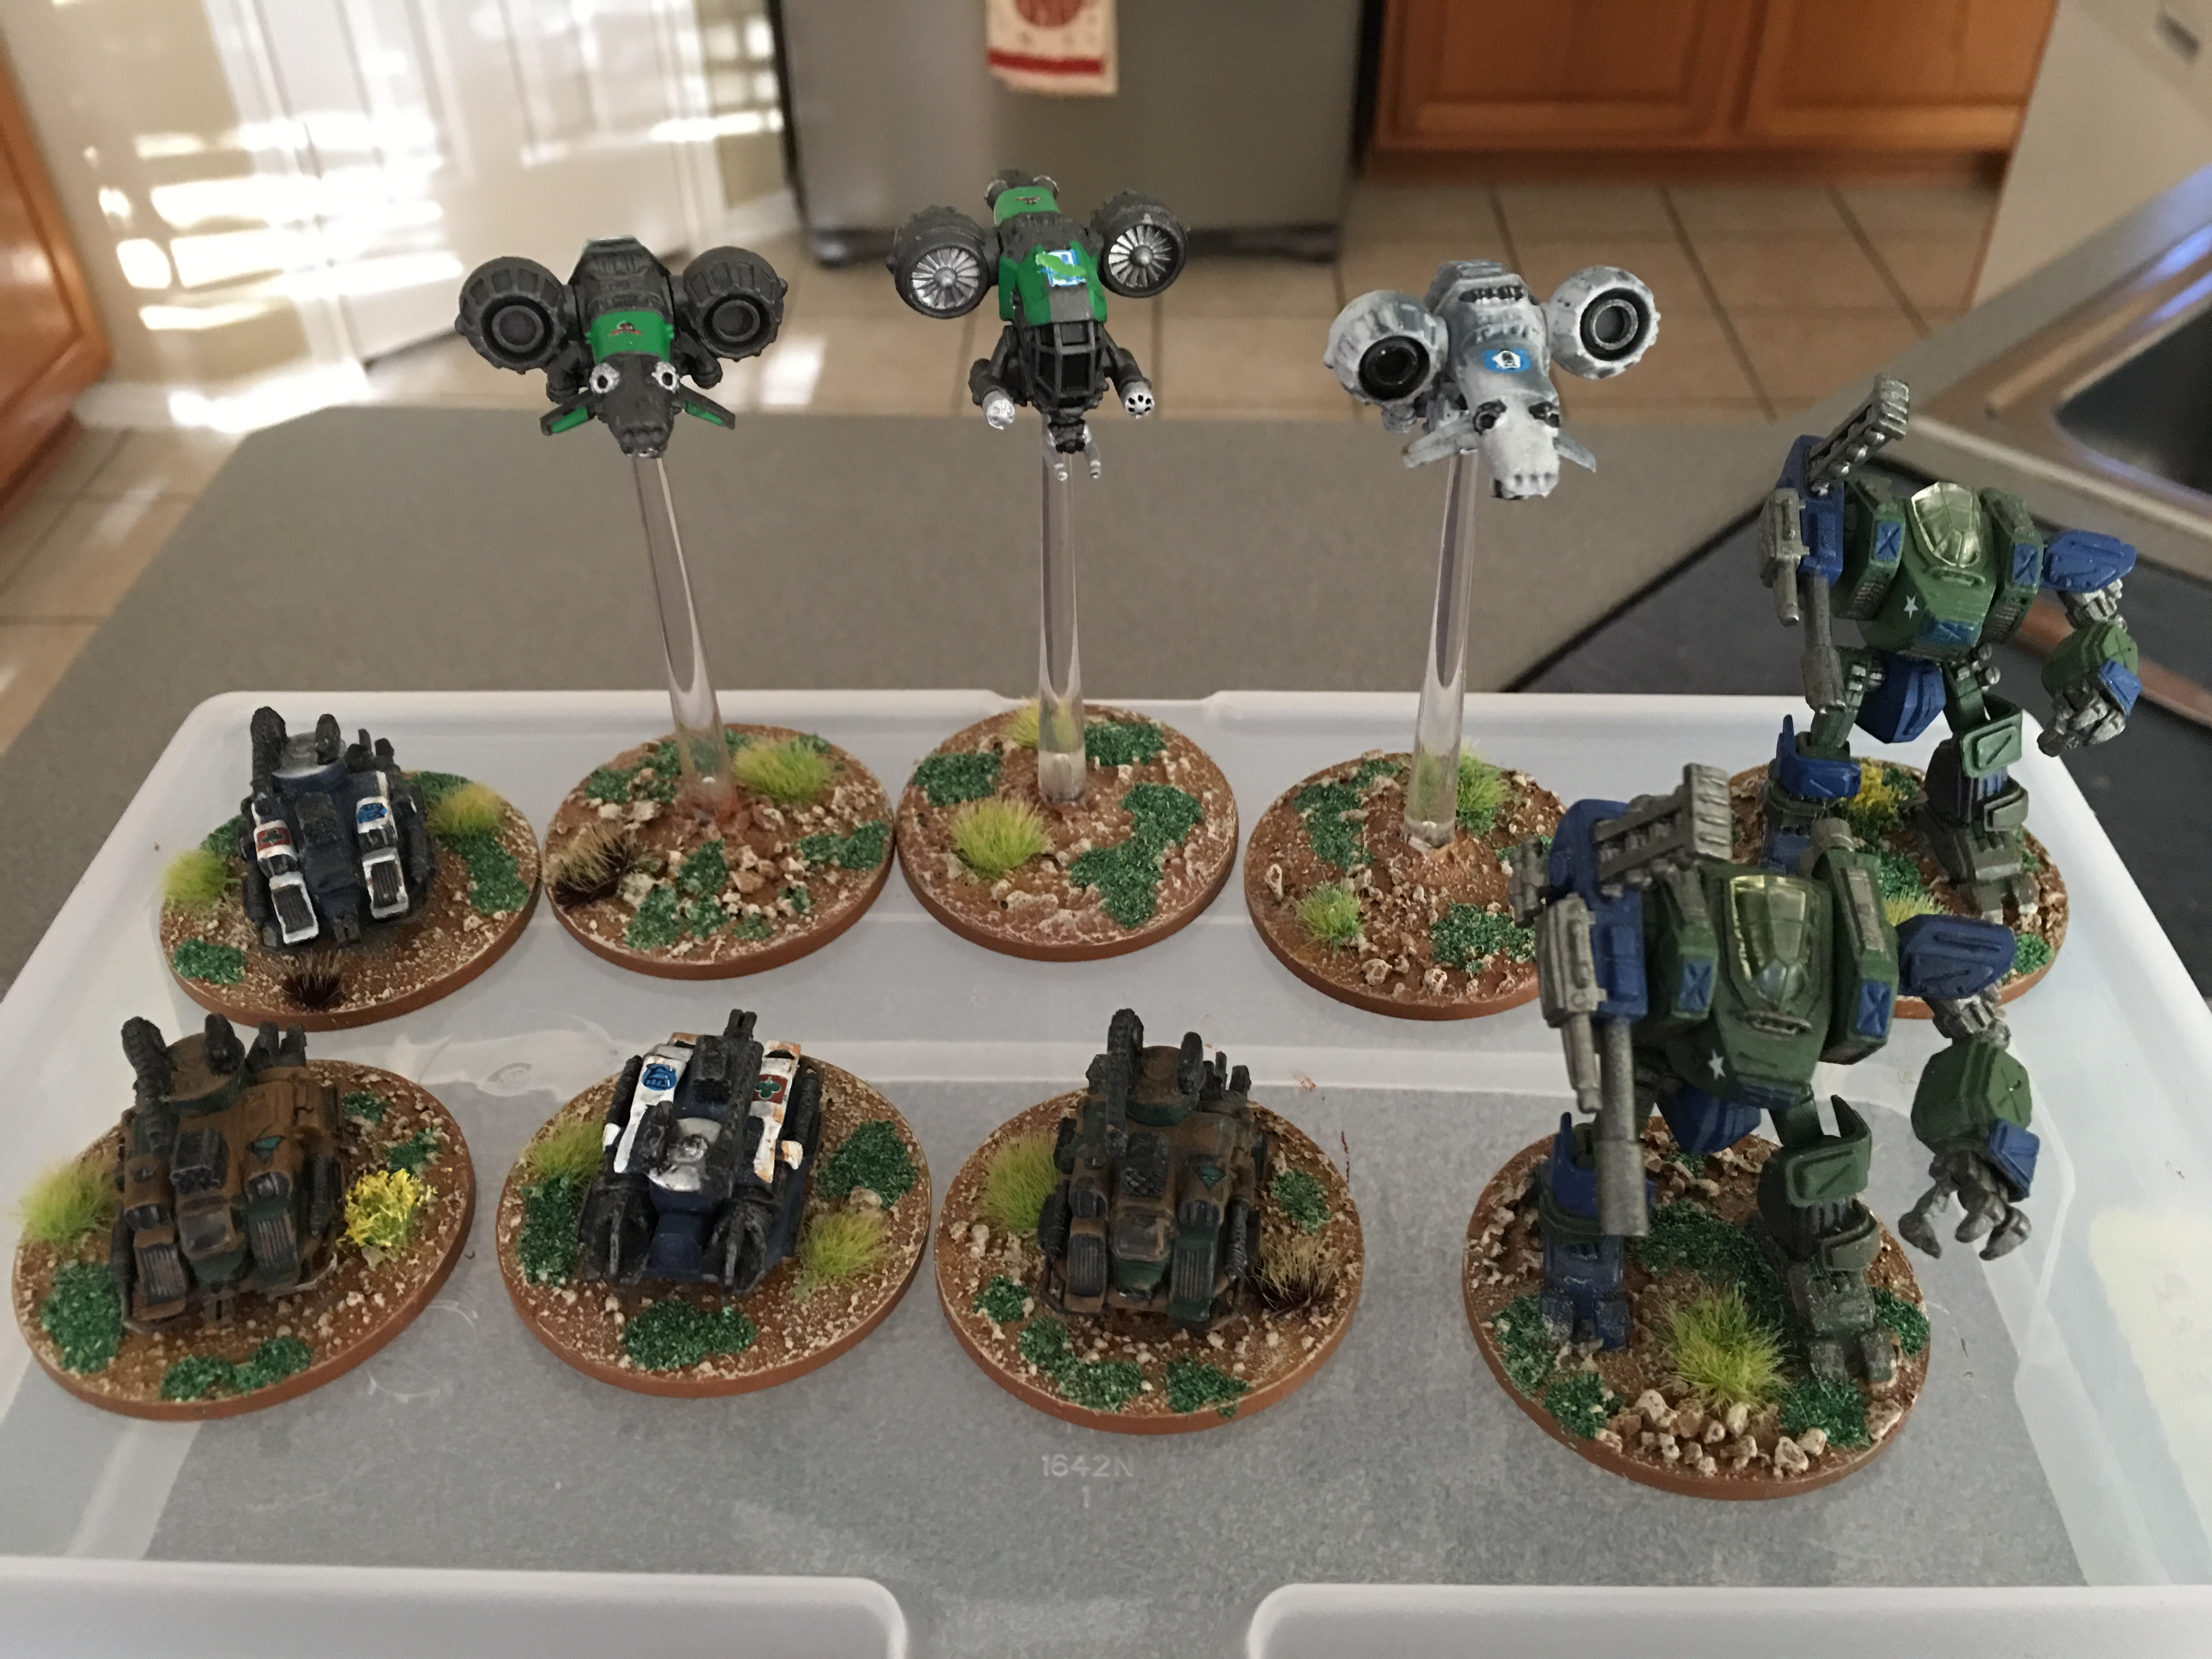
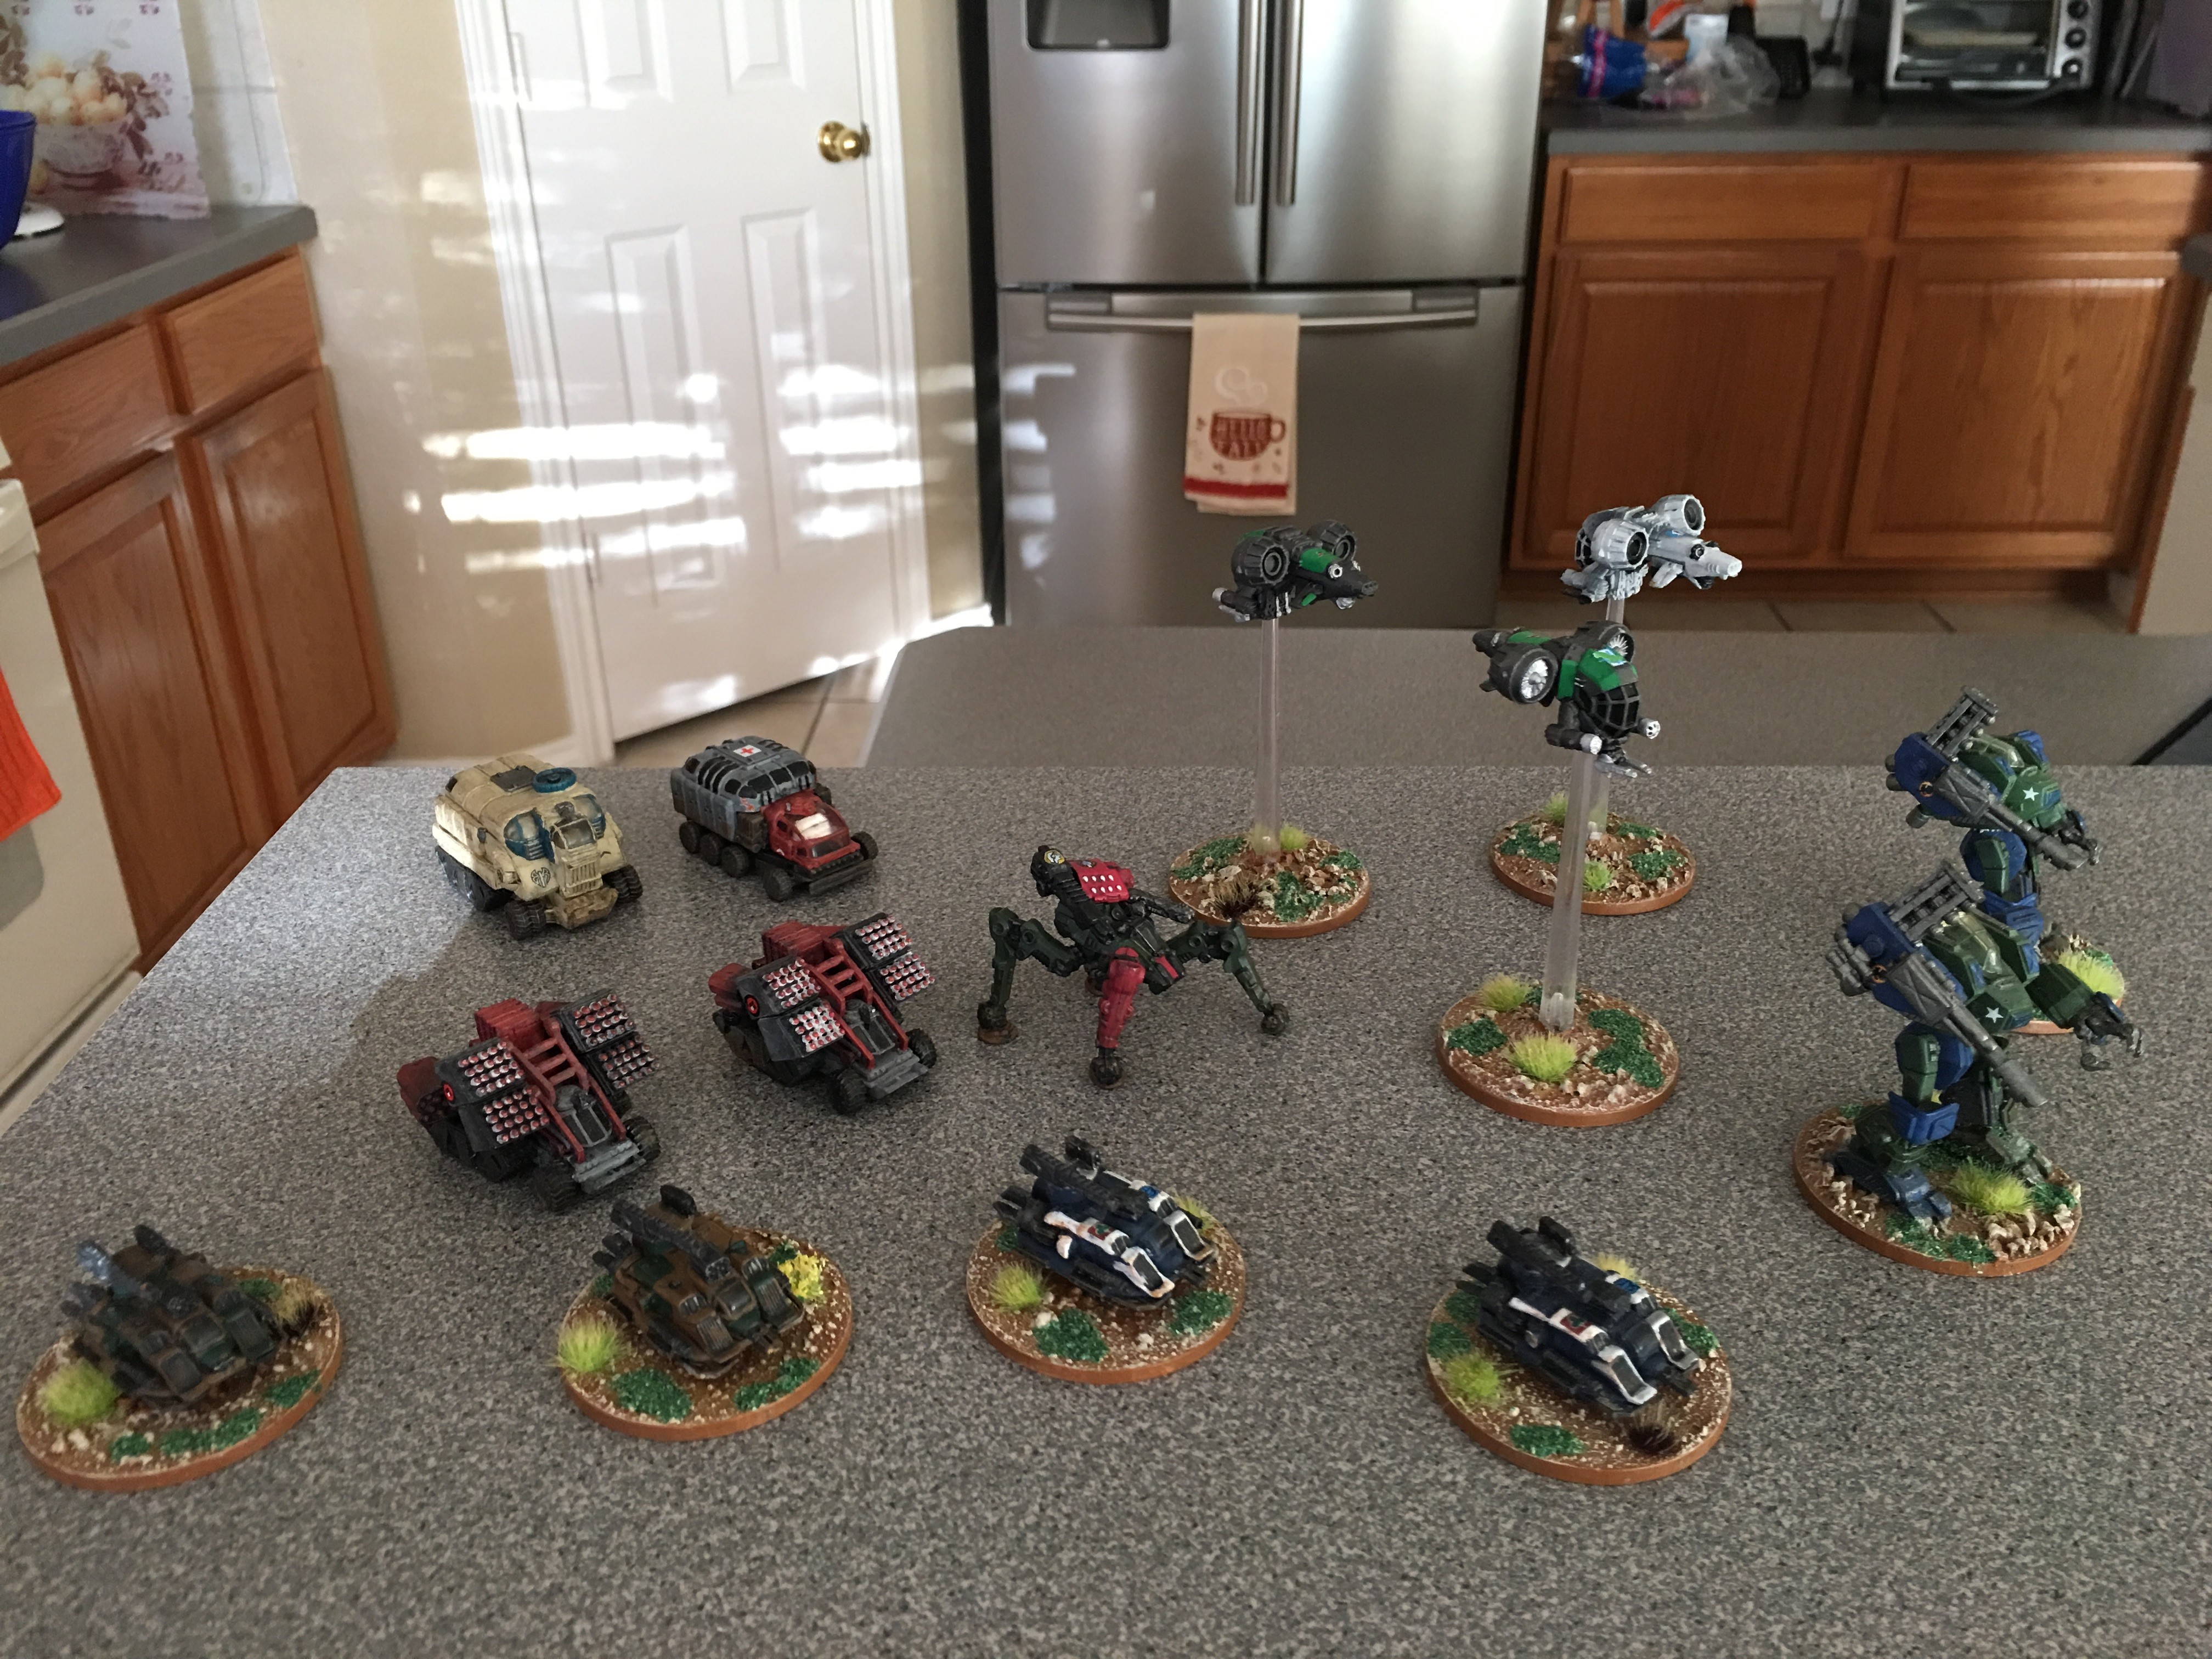
The Final Product!
And here’s what the finished product looks like! I might try some different grass flock material colors when I do this in the future, but I think it looks pretty good!


Great work, Stan! Those turned out fantastic. The step-by-step article is excellent. I really need to get started on painting my Imperial Assault figures.
Cool, glad you liked the article 🙂