It’s been a rough month! I’m ever so thankful for everyone’s concern and support. Here’s a quick recap on the notable apocalyptic events of recent weeks.
March 24
I live in Wylie, TX. My wife Janine and I wake up around 10:30pm to hear what sounds like a freight train bearing down on us. Hail was coming down in various sizes, much of it quarter or golf-ball sized. Entire ground was white with hail. Was so loud we did not realize till after the fact that we had double-paned windows both upstairs and downstairs that were shattered as a result. Some hail bounced across the gameroom and was at our stairwell — traveling over half the width of our house inside.
The next day there were dead birds everywhere, victims of the deadly, large hail.
In the aftermath, we took stock of the damage. We’ll have to:
- Replace our roof
- Replace our gutters
- Replace several windows
- Replace most of our window screens (it looks like werewolves were clawing to get inside)
- Replace many of our blinds
- Replace our pergola (it was twisted and damaged and we had to tear it down for safety reasons)
- Sandblast and refinish our wood fences (looks like someone took a machine gun to them)
All this work is underway and our insurance is paying for almost everything, but it’s still exhausting to work with so many contractors, etc.


March 31
A head cold was making the circuit among my sons, and I eventually got it around March 31. We have plastic sheeting duct-taped around our many broken windows, but despite that the outside air flows freely in the house around the edges, which is really bad for my allergies and asthma. I think that was a contributing factor to what happened next. It couldn’t get any worse, right?
Wrong.
April 4
April 4 my cold turned into pneumonia. Spent most of the week in bed just trying to breathe.
April 11
Mostly over pneumonia at this point, not contagious but will still take a few days for my lungs to clear up. Then we had another round of hail! Our house was unscathed, but my sons got caught in it.
My oldest son Matt was driving (with my son Paul in the passenger seat) in Wylie about 5 minutes NW of his place (10 minutes SE of my house). Rain had not yet hit, but on the edge of the impending storm, BASEBALL-sized hail started raining down on them. One piece of hail hit and knocked completely off the rear-view mirror. Another few hard hits shattered the rear windshield. The front window was a spider-web of cracks at this point. It was a pretty dangerous situation.
Matt knew if the front window gave way they’d be in a world of hurt. They were in a rural area and visibility was near zero, but Matt knew there was a school nearby, so he did some crazy driving (including hopping a concrete curb and possibly damaging the car) in order to get to safety. They ended up in the lee (non-wind) side of the school and escaped further baseball sized hail. Their car looks like someone took a baseball bat to it, but aside from Matt having one cut on his arm from broken glass, our boys made it through this safely.

Boys’ Car Rear Window

Boys’ Car Front Window

Neighbor’s Picture of some of the Hail
April 12
My friend Jeff from my gaming group who also lives in Wylie found his trampoline over in his neighbor’s yard — tossed around by the wind! I believe he’s otherwise unscathed.

Jeff’s Trampoline
Wylie schools are closed due to the latest hail damage. But, everyone is safe! I hope our family is done with adventures for a while!
Now adding dealing with a totaled car to our long list of repairs. :-0

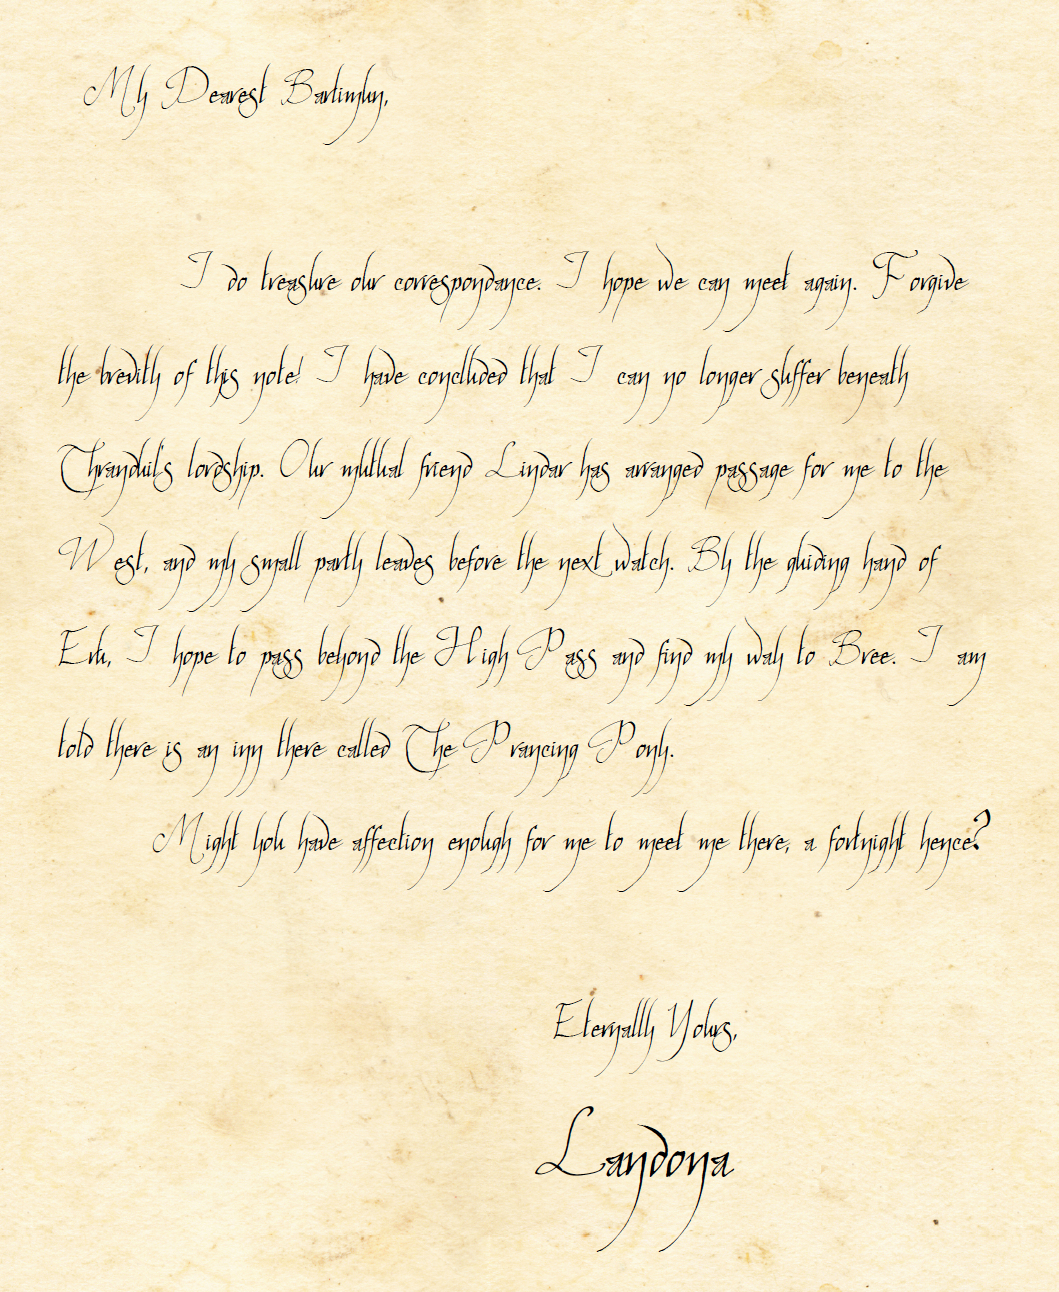
![IMG_0503[1]](https://dicehaven.com/wp-content/uploads/IMG_05031-300x224.jpg) the walls of Silverthorne for months, only to be cut down the day before his brother, Kurst, arrived back in Silverthorne with help in the form of our intrepid adventurers.
the walls of Silverthorne for months, only to be cut down the day before his brother, Kurst, arrived back in Silverthorne with help in the form of our intrepid adventurers.

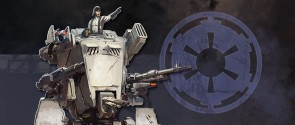 Trying out new lists means all new capabilities and strategies and plenty of room for error. But it also means lots of fun like running around in a giant AT-ST, stomping on fleeing Rebels. Or setting loose a couple of raging Wookies to run interference for your elusive Smuggler. The only thing more fun that putting a new list together is actually getting to play it. So enough talk, let’s get to it.
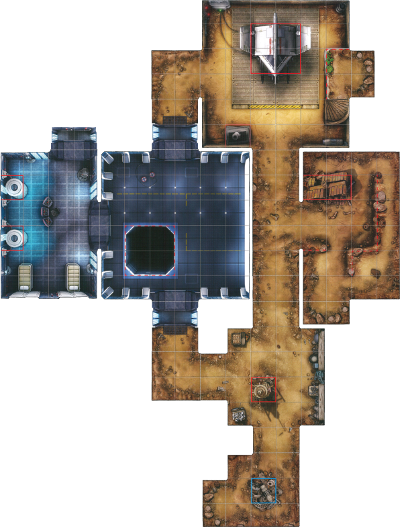 This map was new to both players so strategy was mainly being worked out on the fly. Mason took the upper deployment zone and Jim Bob set up at the bottom. The object of this mission is to the retrieve the datalink and upload it to the red terminal. There’s only one datalink though, worth 16 victory points, so the victor will undoubtedly be decided the hard way. On the surface this looks to be an advantage to Mason whose list is built for power as opposed to Jim Bob’s light and mobile squad.
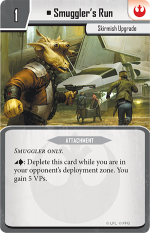 Trying desparately to avoid the awesome firepower of General Weiss, the datalink carrying smuggler slipped back and forth across the map while both sides traded fire. The Wookies were able to take out the Imperial Officer and a Royal Guard but fell before they could stop Weiss. The trio of Jyn, Gideon, and C-3PO were able to put an end to the E-Web Engineer, but the remaining Royal Guard slipped through their ranks to chase after the Saboteurs attempting to finish off the General. In all the fray, the Smuggler made a run through the enemy deployment zone to pick up 5 critical points before the AT-ST picked him off.

 Perhaps the most important lesson learned so far in our first few skirmish matches has been SYNERGY – figures making other figures better and more effective at offense or defense or sometimes both. One thing that has been very clear from these early match ups is that Chewie’s team has it and Boba has been sorely lacking. The Furries make each other better with defensive bonuses and shared command cards, which among other things has made them harder to kill. Fett’s new team is hoping to pack a bigger punch with the addition of two figures that can apply the focus condition to teammates as well as building around characters who share the Hunter and Brawler traits for improved command card sharing.
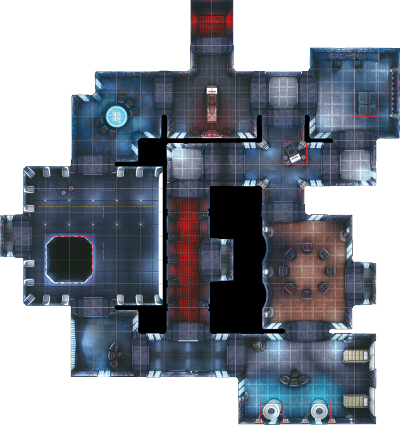 Kuat Space Station is currently in the official skirmish map rotation for tournament play, but this is the first time it has made an appearance at the IA Lunch League. This map offers an interesting mix of objective play and combat flash points. The objective is to control the data core found the in upper left room, which will give you 10 victory points at the end of each round. The trick is that a door to the data core room can only be opened by a figure controlling a terminal at the beginning of a round and then at the end of each round both doors shut automatically.
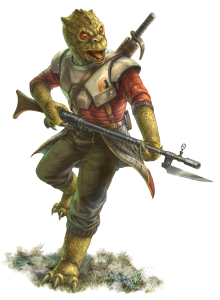 The MVP of the match was definitely the Trandoshan Hunters. Working in pairs, their Relentless attack kept the pressure on the Furries and caused Mason to burn through his command deck, which he had used so effectively in previous games, in order to keep from taking additional damage. The Trandoshans holding the front line also allowed Fett and the Nexu to stay behind them, supporting both groups and popping in to attack where most needed. The added element of Focus from Gideon and C3PO made sure these groups hit hard.
Recent Comments