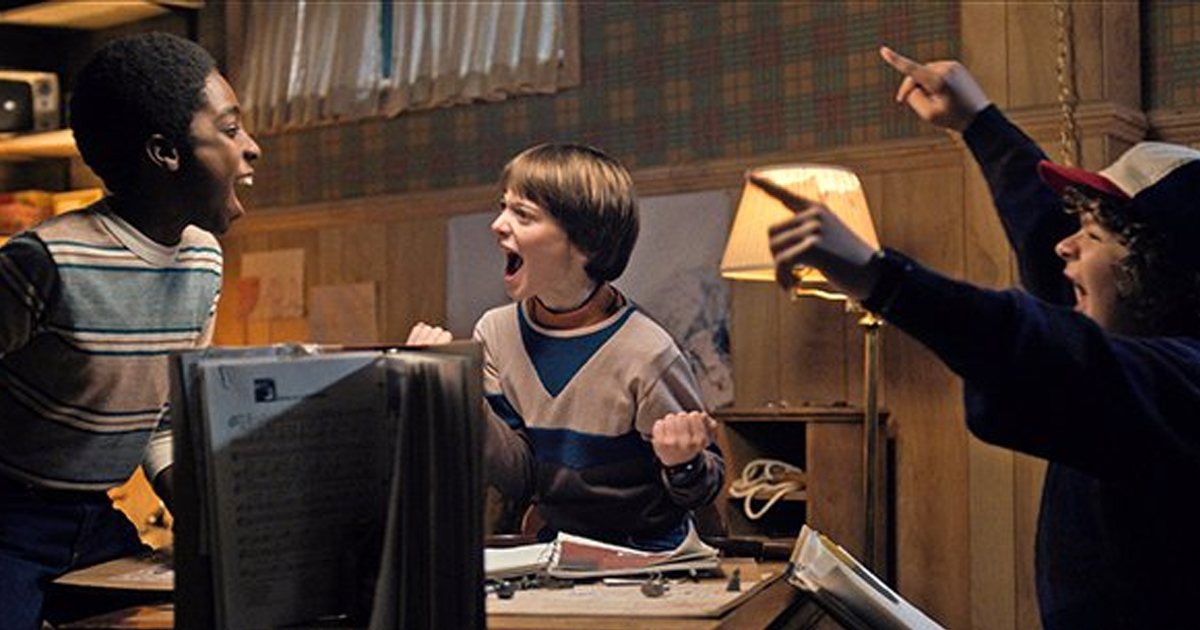
I know I’ve had a few conversations over the last year or so about frustration over side conversations and out-of-character chatter. (Although out-of-character conversations and jokes can also be pretty fun!)
Some example issues I’ve seen from the various side-chatter:
- A player and GM are roleplaying and they can hardly hear each other due to active side-conversations.
- Players ignore the GM and have a side-conversation and remain clueless minutes later about information they should have known (if only they had paid attention), requiring the GM to repeat the same information again.
- Jokes and chatter disrupt immersion.
- GMs and players feel others don’t value their roleplaying since some people aren’t paying attention (this can be interpreted as lack of interest).
Let’s examine each type of side-conversation that happens and consider what changes we can make as a group to make our games more enjoyable.
Types of Side-Conversations
Group Rules Lookup
Often we stop to look up rules, especially ones that are more complex or when our characters are ‘high level’ in D&D type games. My favorite games are ones that flow without the game grinding to the halt while we look up rules (or worse yet, argue over them).
Possible Solutions:
- Avoid game systems that have crunchy rules
- Avoid high-level games (e.g. D&D levels 11-20).
- GM and players to spend more time outside the game reading and understanding the rules.
- Have a rules master to lookup rules (this still breaks the game, but makes rules lookups faster).
- Don’t look up rules unless a character’s life is jeopardized. Instead, defer to the GM to make table rulings. If a GM is getting a rule wrong, don’t call them on it. Discuss the rule after the game (or one a break), and look to improve the rule during the next game.
Solo Rules Lookups
This is a variation on the above. Players don’t ask others about a rule, but just look them up themselves privately. Or maybe they are looking at character options when they level up or some such. This can be an annoying situation if the player zones out, finds something cool, and then in their eagerness interrupts the entire group roleplaying to share what they’ve just learned.
Possible Solutions:
- Don’t interrupt others. Wait until a break or at least until your turn during combat.
Character Not in the Scene
When we split the party, players whose characters aren’t in the scene often feel at liberty to have conversations at full volume, both competing with the GM and players in that scene. One can argue that players should not be hearing what is going on in that scene and that this is appropriate, but I think GM should either (1) take players to another room to run the scene if it’s ‘private’, or (2) expect all players in the room to pay attention since they’ll get the recap on the scene from a character later anyway, thus saving on time.
Possible Solutions:
- Players don’t have conversations in scenes where their character is absent. Instead, listen to the roleplaying.
- If a conversation is necessary (e.g. a fellow player’s rules question), talk in whispers, or by electronic device PM, or by passing a note (although even whispered side conversations can be distracting if they cause laughter, etc.).
Questions / Strategy
Sometimes players have out-of-character questions (especially if they are learning the system) and ask their neighbor questions about the game rules or setting.
Possible Solutions:
- Try to not talk to neighbor unless it’s a break.
- If you must talk, talk in whispers.
In-Character Humor
Generally humor, if done in character, is great! Where it breaks down is if it’s not really in-character humor, i.e. making a snarky remark (that sort of is against the tone of the game or that character) and then saying afterwards, “My character didn’t say that.”
Possible Solutions:
- Stay in character.
Out of Character Humor
This is a tough one. In a humorous, non-serious game like ‘It Came From The Late, Late, Late Show’, ‘Midearth/Bored of the Rings’, or perhaps ‘Johny Quest’, laughing both in and out of character is probably just fine. For serious game though (i.e. most games we play), out of character humor may be funny, but that humor is at the expense of immersion.
Possible Solutions:
- Discuss the tone of each campaign with the group and establish expectation about if out-of-character humor is allowed or not. If it’s a serious game, avoid out-of-character humor which disrupts immersion.
Non-Game Chatter
This is a catch-all bucket of any other non-in-character chatter that happens. Anything from a GM reminiscing about the old days, or someone talking about how good the snacks are.
Possible Solutions:
- Don’t engage in non-game chatter. Wait for a break to make your comments.
- If you do this, do it in a whisper.
Meta-Gaming
This is especially true in combat players will ask others what they think they should do, thereby ‘strategizing’ while out of characters rather than simply doing what their characters would do. Note that there is a closely related, but very different thing I think, situation where a player simply doesn’t know a rule (or forgot the rule) and is asking players how the rule works.
Possible Solutions:
- Don’t strategize out-of-character. Do what your character would do. Have your character shout quick phrases on their turn if they want to formulate a plan with other characters.
- If you don’t know a rule, either (1) wait till a break (if it’s not in combat), or (2) wait until it’s your turn and ask the rules question to the entire group.
Final Recommendations
Consolidating the above, here are some ideas on things we could consider adopting as part of our social contract.
Game System Rules
- GM and players should spend time outside the game reading and understanding the rules.
- Ask rules questions on a break or on your combat turn. Specifically, if you don’t know a rule, either (1) wait till a break (if it’s not in combat), or (2) wait until it’s your turn and ask the rules question to the entire group.
- No-Lookups Option: In some campaigns, rule that you don’t look up rules unless a character’s life is in jeopardy. Instead, defer to the GM to make table rulings. If a GM is getting a rule wrong, don’t call them on it. Discuss the rule after the game (or one a break), and look to improve the rule during the next game.
- Rules-Master Option: In campaigns where you decide you want to allow rules lookups, have a player be the Rules Master to lookup rules. A player announcing his rules question during a break or during their turn in combat, and the Rules Master looks it up, waiting until the next logical break to announce their findings.
Meta-Gaming
- Don’t strategize out-of-character. Do what your character would do. Have your character shout quick phrases on their turn if they want to formulate a plan with other characters.
Speaking Out of Turn
- Stay in character.
- Don’t interrupt others. Wait until a break or at least until your turn during combat to speak to the group.
- Players should not have side conversations in scenes where their character is absent. Instead, listen to the roleplaying.
- Do not talk to your neighbor unless it’s a break.
- If a conversation is necessary, talk in whispers, or by electronic device PM, or by passing a note (although even whispered side conversations are distracting if they cause laughter, etc.).
Humor
- Discuss the tone of each campaign with the group and set expectations on if you want to allow out-of-character humor or not. If it’s a serious game, avoid out-of-character humor which disrupts immersion.


 I did some experimentation with creating one inch tokens for use in games where acquiring minis is expensive or impractical but when you still want something to represent character placement (roughly) on a map.
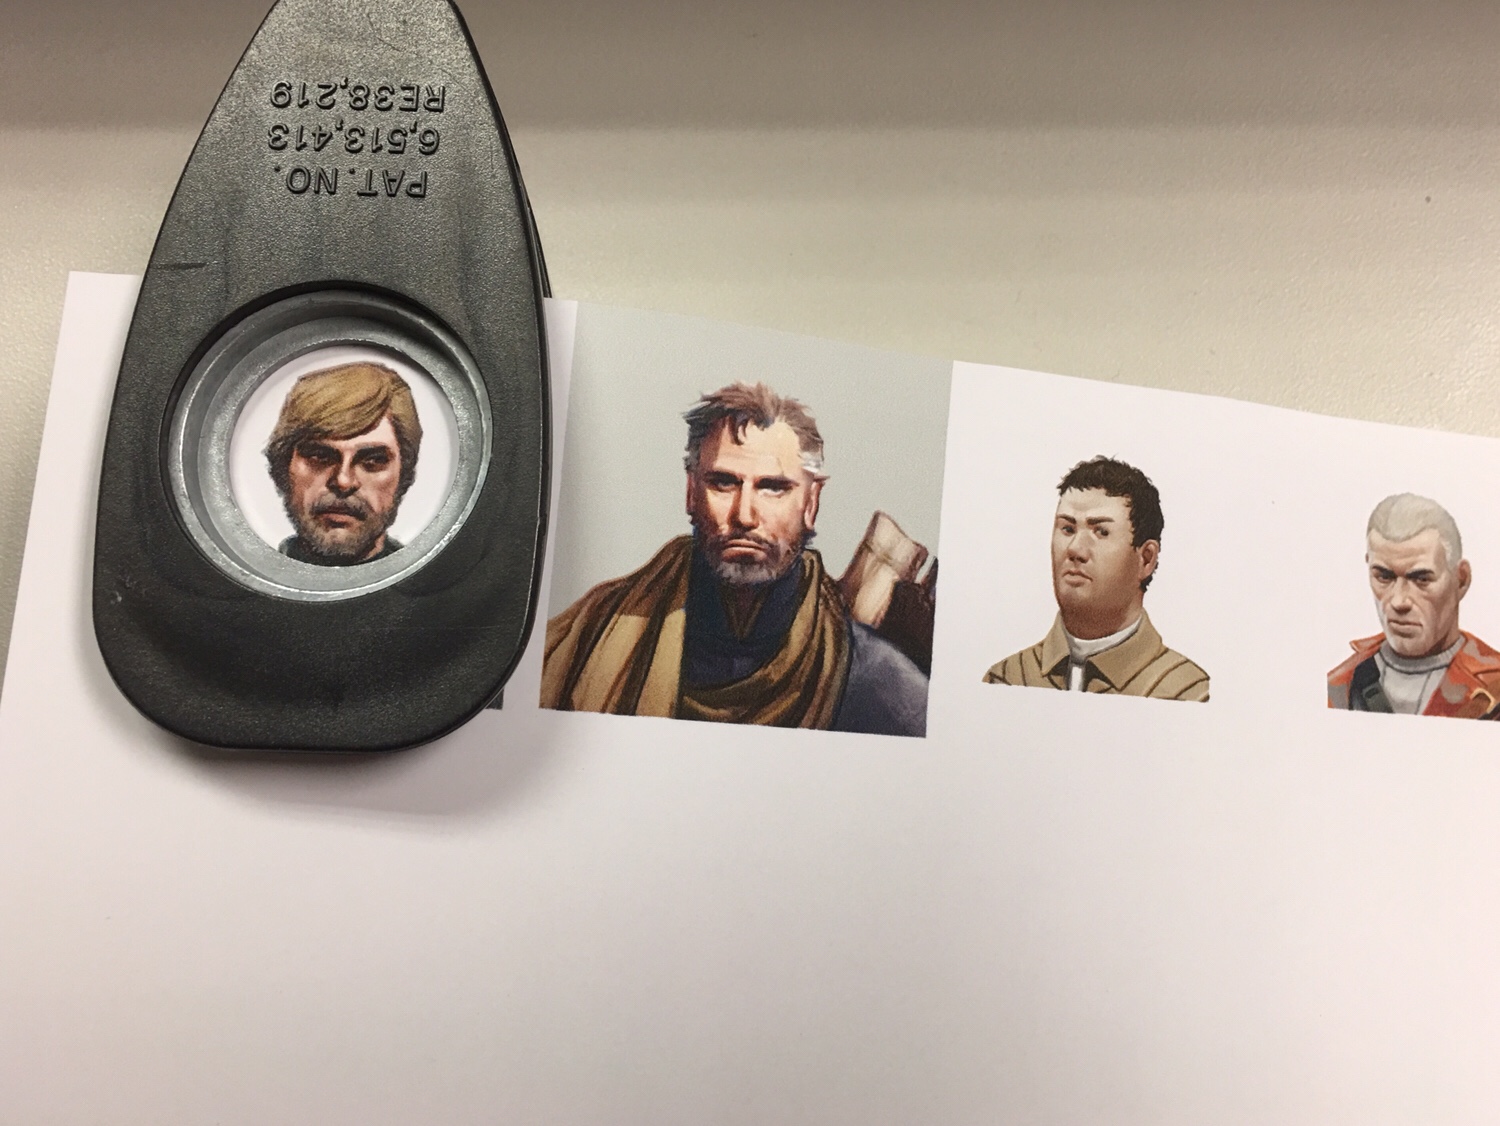

Recent Comments