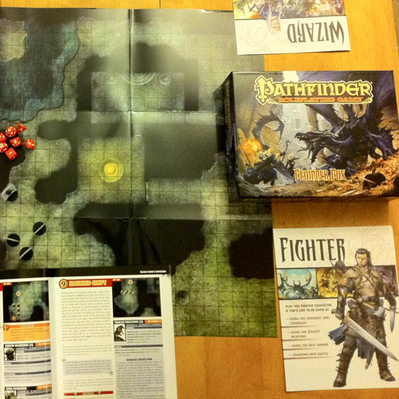
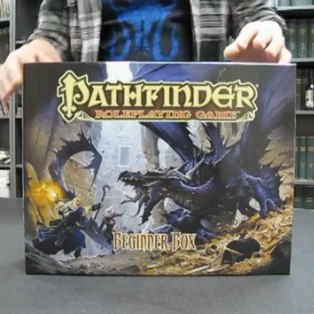
The new Pathfinder Beginner Box has generated quite a buzz. The fantastic pawns — stiff cardboard cutouts with bases that server as miniature substitutes — have players clamoring for Paizo to issue new sets of pawns.
Want to create your own do-it-yourself Beginner Box style pawns? Here’s a tutorial on how to do just that.
First, find some images you want to use for your pawns. In the example I’m using for this photo tutorial, I use images from the Pathfinder Paper Minis: Pathfinder Adventure Path #1—”Burnt Offerings”. Those Paizo paper minis have their own method to stand them up using only paper, but they aren’t as attractive and don’t match the new slick Beginner Box pawns.

I created an Open Office Draw template. Download the RPG Hacker Pawn Template here. If you don’t have OpenOffice, you can download the software free here.
The images need to be either the Standard pawn size (28mm wide by 48mm high) or the Large pawn size (48mm wide by 63mm high). I use Gimp to take the image (which can be a screenshot or an image exported from a PDF) and resize it to one of these sizes. Make sure it is at least 200 dpi (though 300 dpi or 600 dpi will also work). Then, paste it into the OpenOffice template.
In OpenOffice, you’ll want make a second copy of the image and then right mouse click on the image and choose ‘Flip’ / ‘Horizontal’ to get a mirror image to use for the back of the pawn.
Once you have the images for the pawns set up in the template, then assemble your supplies. You’ll need:
- Fantasy Flight Plastic Stands (I bought my for about $2 for a pack of 10 here)
- Exacto Knife
- Scissors
- White 3mm Foam Sheet (I got mine at Hobby Lobby — cost $0.99 for one sheet).
- A cutting board
Optionally, you can use a corner punch (also from Hobby Lobby) if you want to use the plastic card technique.

Here’s what the Fantasy Flight stands look like. They work about the same as the black stands that come in the Beginner Box, but they are a little bit tighter I think.

Next step is to cut out the pawn images from the template you printed out. I use an Exacto knife on a hobby cutting board for this.

Now on to cutting the foam out. There are two ways you can do this. The first is to take some plastic card (feels like a credit card — I used a comic book divider from the comic store for this image) and cut out a piece to the size of the pawn and use a round edge cutter from Hobby Lobby to round the corners.

You then use this as a guide to use your Exacto knife to cut out the foam. It is floppy, but don’t worry, once you glue it it will be stiff and feel like Balsa wood.

After I first did this a few time, I then discovered that the pawns themselves make good guides for your Exacto knife, so I’ve not switched to this technique. Whether you use the plastic card or a cardboard pawn, you use it as a guide to cut both the paper and the foam.

Then glue the images to each side of the foam. I use a glue stick, but rubber cement will also work.

Make sure it lines up correctly. You can move it around a bit before the glue sets to get it aligned just right.

One issue I’ve had if I take them out of the stands a lot is that the bottom edge can fray and catch on the plastic stand. So I found a solution.

Put Scotch tape along the bottom.

Then trim it with scissors.

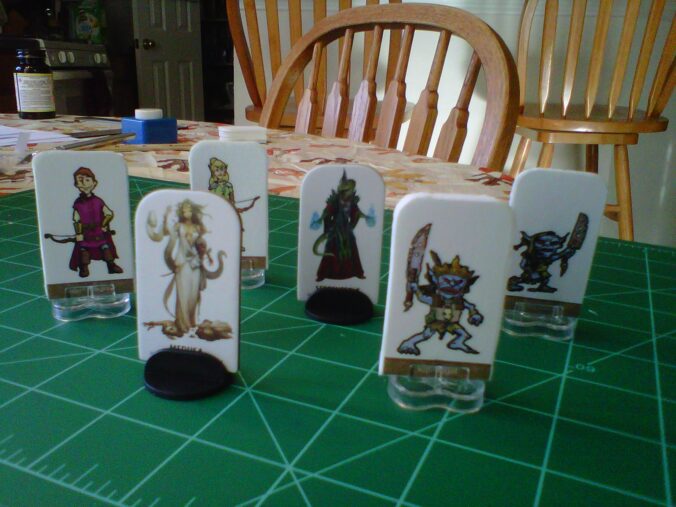
Lastly, insert into the Fantasy Flight Plastic Stands. Here’s the final product. These were my first batch using the plastic card technique. My new pawns using the cardboard pawns for templates look even better. I figure it costs about $0.02 per figure flat, and about $0.25 for each stand. They look pretty good next to the regular Pathfinder Beginner Box Pawns I think.






Recent Comments